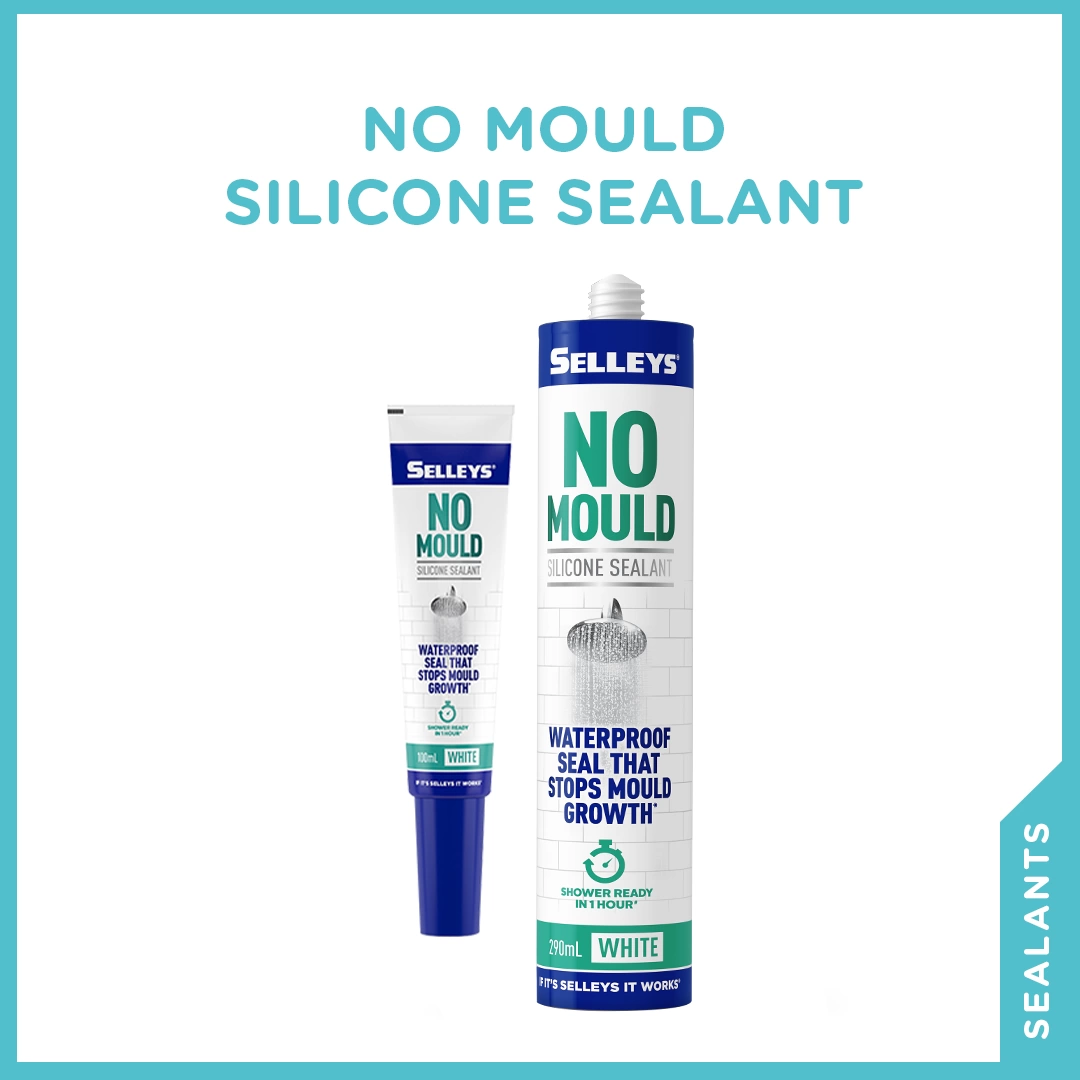
Silicone sealants are commonly used to seal gaps and joints. They’re crucial for waterproofing and preventing water damage, especially in wet areas such as bathrooms and kitchens.
Effective sealants can typically last for years. The material may, however, become discoloured or damaged over time due to wear and tear. When this happens, you may want to replace the old sealant.
In this article, we’ll guide you through the steps on how to remove silicone sealant effectively and share some helpful tips. We’ll also walk you through the steps for re-applying the silicone sealant so you can protect your surfaces from water damage.
Table of Contents
How To Remove Old Silicone Sealant
Silicone sealants can be applied on surfaces such as tiles, glass, wood, and metal. Removing existing sealant from these surfaces often requires great care to prevent scratches.
Here are the steps to effectively remove old sealant without damaging the surface.
What you need:
- A sharp blade like a pocket or small utility knife
- Sealant remover/Selleys RP7
- Methylated spirits
Note!
Metal scrapers and scrubbers should be avoided when removing silicone sealant from metal surfaces as they can cause scratches.
Step 1: Clear the area of loose objects
To start, remove any loose objects from the surrounding area. By keeping them out of the way, you won’t risk dirtying or damaging them when you remove the silicone sealant.
Step 2: Remove loose pieces of silicone sealant
In some cases, you may notice bits of silicone sealant coming off. These bits can be peeled off by hand or scraped off with the help of a sharp blade.
Alternatively, you can make a small, shallow incision at the seam to loosen the sealant. Avoid cutting too deep as this may damage the surface underneath the sealant. Once you have an opening at the seam, you can start to remove the loose pieces.
Step 3: Apply or spray the sealant remover
Once the loose pieces have been removed, you can apply a sealant remover to the silicone. Leave the solution on the surface according to the duration specified on the product label. The remover will loosen the sealant, making it easier to peel off.
If you don’t have a sealant remover at home and it isn’t readily available in your neighbourhood, try using Selleys RP7 as an alternative.
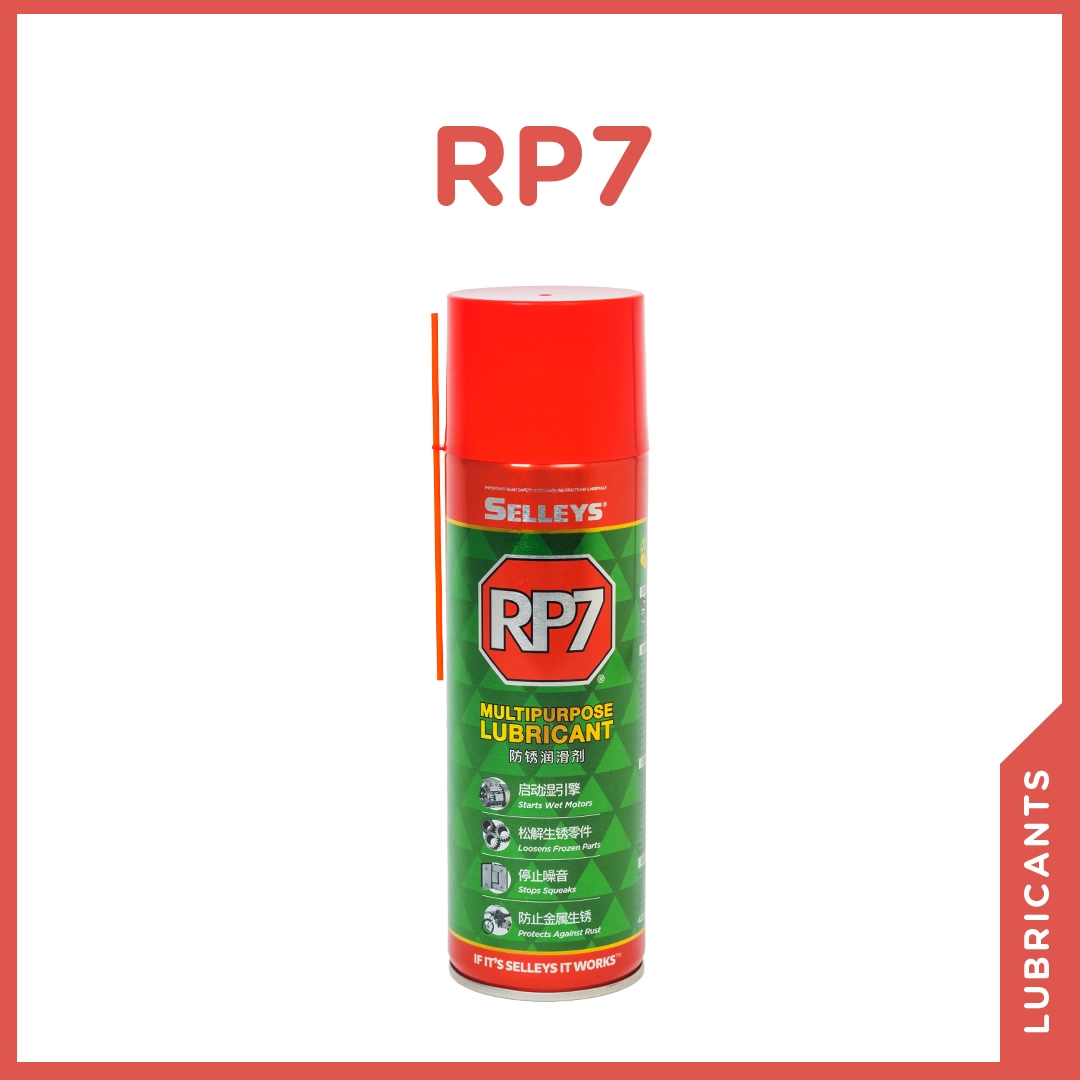
Selleys RP7 is a multi-purpose lubricant spray that’s effective in removing old silicone sealant. It can also displace moisture to protect surfaces against rust or metal corrosion.
Directions:
- Spray Selleys RP7 on the old sealant.
- Leave it on for 5 minutes to let it penetrate the surface.
Note!
Remember to test the sealant remover (or Selleys RP7) on an inconspicuous area to avoid discolouration on the surface when applied.
Step 4: Remove the sealant residue
Once the old sealant is sufficiently loose, you can remove it by hand or with a sharp blade. Avoid exerting too much force while scraping or you may end up with scratches on the surface. To remove leftover bits, pour some methylated spirit on a microfibre cloth and rub the surface clean.
Tips For Removing Silicone Sealant
To make the process of removing silicone sealant a safer and more effective one, read on for some useful tips!
Wear protective gloves
As chemical solvents and sharp tools are involved in the removal process, you may want to wear a pair of protective gloves. This will protect your hands from coming into contact with strong chemicals or getting cuts during the scraping process.
Apply heat for easier removal
While sealant removers and methylated spirits are often sufficient to remove the silicone sealant, some parts of the silicone may still refuse to budge. To get rid of stubborn sealant, try applying heat using a heat gun or a hair dryer.
- Direct the heat towards the sealant for 30 seconds to 2 minutes at a time.
- Next, check to see if the sealant is soft enough for removal.
- If it’s soft enough, gently remove it. Otherwise, continue to apply heat till it loosens.
How To Re-apply Silicone Sealant
Now that you’ve successfully removed the old silicone sealant, you’re ready to apply a new layer! This new layer will help to keep water away from gaps between fixtures and prevent mould from growing due to excessive moisture. Follow the steps below for a smooth and effective reapplication.
What you need:
- Mould removal spray
- Microfibre cloth
- Selleys Liquid Sugar Soap
- Water
- Bucket
- Silicone sealant
- Caulking gun (optional)
- Rounded spatula
Step 1: Get rid of mould and mildew
Once all the old sealant has been removed, grab a mould removal spray like Selleys Rapid Mould Killer and clean the surface thoroughly. It’s crucial to remove any traces of mould and mildew before applying the new sealant to prevent future complications.
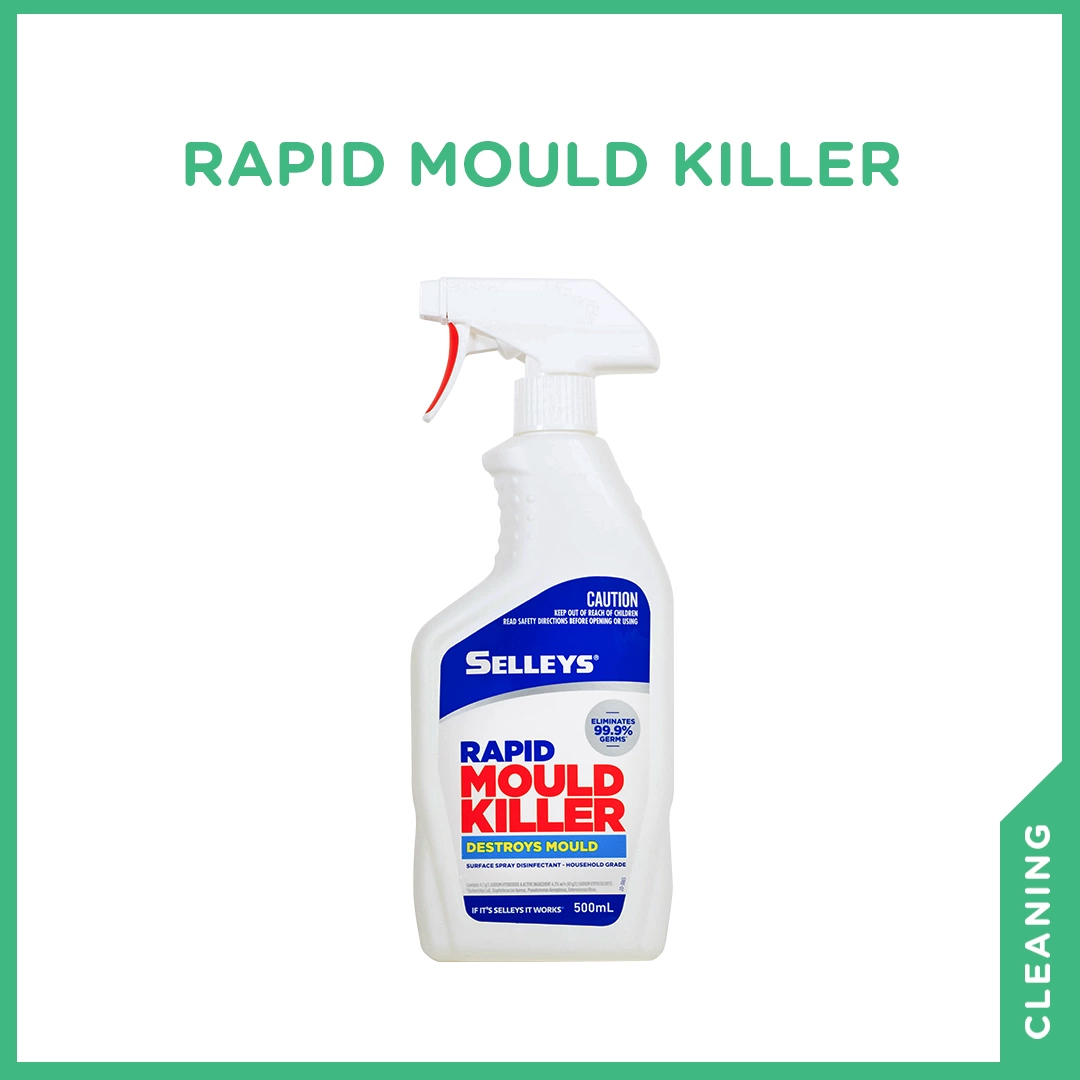
Selleys Rapid Mould Killer features a powerful formula that can effectively eradicate mould and 99.9% of germs.
Available in a convenient trigger spray bottle, you can easily spray the solution on surfaces like glass, ceramic, rubber and plastic. However, avoid using it on mirror tiles, unglazed tiles and metallic surfaces to prevent staining or bleaching.
Directions:
- Twist the nozzle to the SPRAY position to open and choose STREAM for a low fumes option.
- Spray the necessary areas and leave the solution on the surface for 2 – 3 minutes before rinsing or wiping off with a microfibre cloth.
- After spraying, twist the nozzle to the OFF position to avoid accidental spraying.
Note!
Before applying on the whole surface, spray the solution on an inconspicuous area as a spot test to ensure no discolouration occurs.
Step 2: Clean and dry the surface
After using the mould remover, clean the area to get rid of any potential contaminants. Contaminants, such as dirt and leftover mould remover, can affect the adhesion of the new sealant. Thus, it’s important to ensure that the surface is prepped and cleaned well.
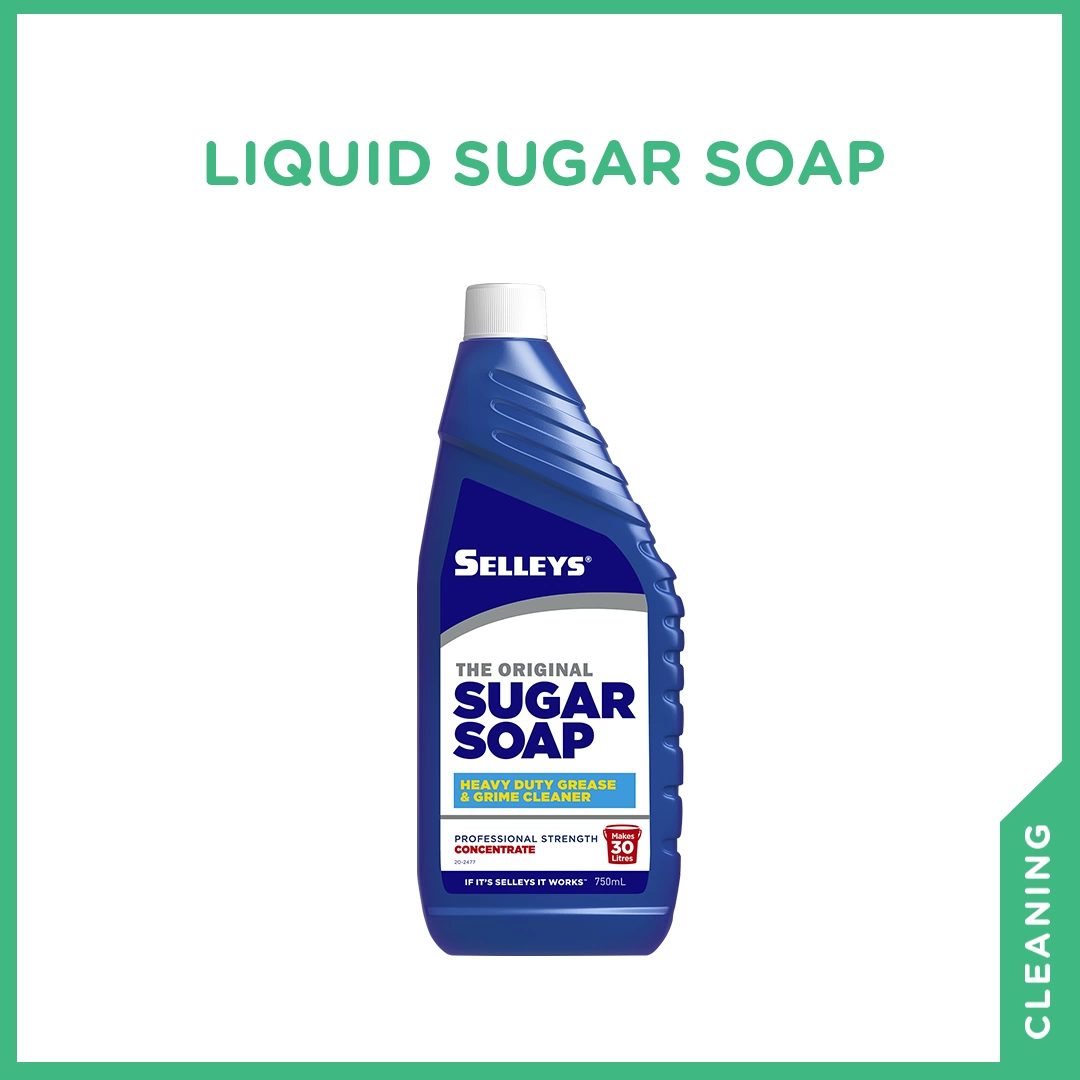
To clean the area, try using Selleys Liquid Sugar Soap. Its concentrated formula is effective in removing dirt, tough grease and grime.
It can be diluted with water or used neat, and is safe to use on all washable surfaces such as walls, floors, tiles and benchtops.
Directions:
- Mix 1/2 cup of Selleys Liquid Sugar Soap with 5 litres of water in a bucket.
- Soak a clean microfibre cloth in the cleaning solution before wringing it to get rid of excess liquid.
- Wipe the entire surface, always making sure to clean from the highest to the lowest point to avoid surface runoff.
- Once the surface is clean, thoroughly rinse it with water.
After cleaning the area, leave it to air dry or wipe it down with a clean dry microfibre cloth to ensure no moisture is left on the surface. This enhances the durability of the new silicone sealant when applied.
Step 3: Apply the sealant
Now that the surface is clean and dry, you’re ready to apply the new sealant!
There are several types of silicone sealants in the market. Depending on the type of sealant you choose, you may wish to use a caulking gun for easier application. With this tool, you can maintain consistent pressure while applying the sealant, ensuring a smooth and neat finish.
To apply silicone sealant using a caulking gun, start by cutting off the cartridge tip. Next, cut the nozzle at a 45-degree angle to create an opening approximately 5mm in size and screw it onto the cartridge.
After which, load the sealant cartridge into the caulking gun. Hold the gun at a 45-degree angle and apply the sealant by pressing the lever. Once you’re done with the application, simply release the lever and remove the cartridge from the caulking gun for storage.
Step 4: Remove excess sealant
After applying the new layer of sealant, wipe off any excess with a damp finger or a rounded spatula for a clean finish. Make sure to do so before the sealant solidifies.
Step 5: Leave the sealant to cure
Finally, leave the silicone sealant to cure for at least 72 hours before exposing the surface to water.
FAQs About Removing Silicone Sealant
When will I need to remove my silicone sealant?
Here are a few scenarios that indicate it’s time to replace your existing silicone sealant:
• When your sealant is mouldy: Mould thrives in warm, humid areas like the bathroom. If you notice your sealant getting mouldy, it’s best to replace it as soon as possible.
• When your sealant is peeling off: When your sealant starts to peel, it’s no longer effective in waterproofing. You should replace it before moisture gets through the seal.
• When you sense air or moisture seeping through: If you can feel air or moisture coming through the seal, the sealant has probably lost its adhesion. When it’s no longer airtight, you should replace it quickly before more air or moisture seeps through and causes water damage.
• When you’re installing a new fixture: Before installing a new fixture like a basin or shower screen, you have to remove the existing sealant first.
• When your sealant is discoloured: If cleaning is unable to get rid of the discolouration on your existing sealant, it may be time for you to replace it.
Can vinegar be used to remove silicone sealant?
Yes, vinegar can help to soften the sealant for easy removal. However, you’ll want to be careful when using this solution as it may discolour and damage surfaces like granite and marble. As such, we recommend testing it on a discreet area first to contain any possible damage.
Can white spirits be used to remove silicone sealant?
While white spirits and methylated spirits are effective in softening silicone sealants, they can only be used to remove leftover residue. A sharp blade is still needed to remove the bulk of the sealant from the surface.