Whether you ride through the mud often or cycle to do errands occasionally, knowing how to service your bicycle will go a long way. This is a relatively simple skill that’s worth picking up as trips to the bike shop can cost a bit after some time.
In this guide, we share more about the different parts of a bicycle, how to clean and service one and the tools you may need! The 4 main steps of servicing include: cleaning, repairing or replacing broken parts, lubricating and securing all bolts.
Table of Contents
Parts Of A Bicycle That Need Servicing
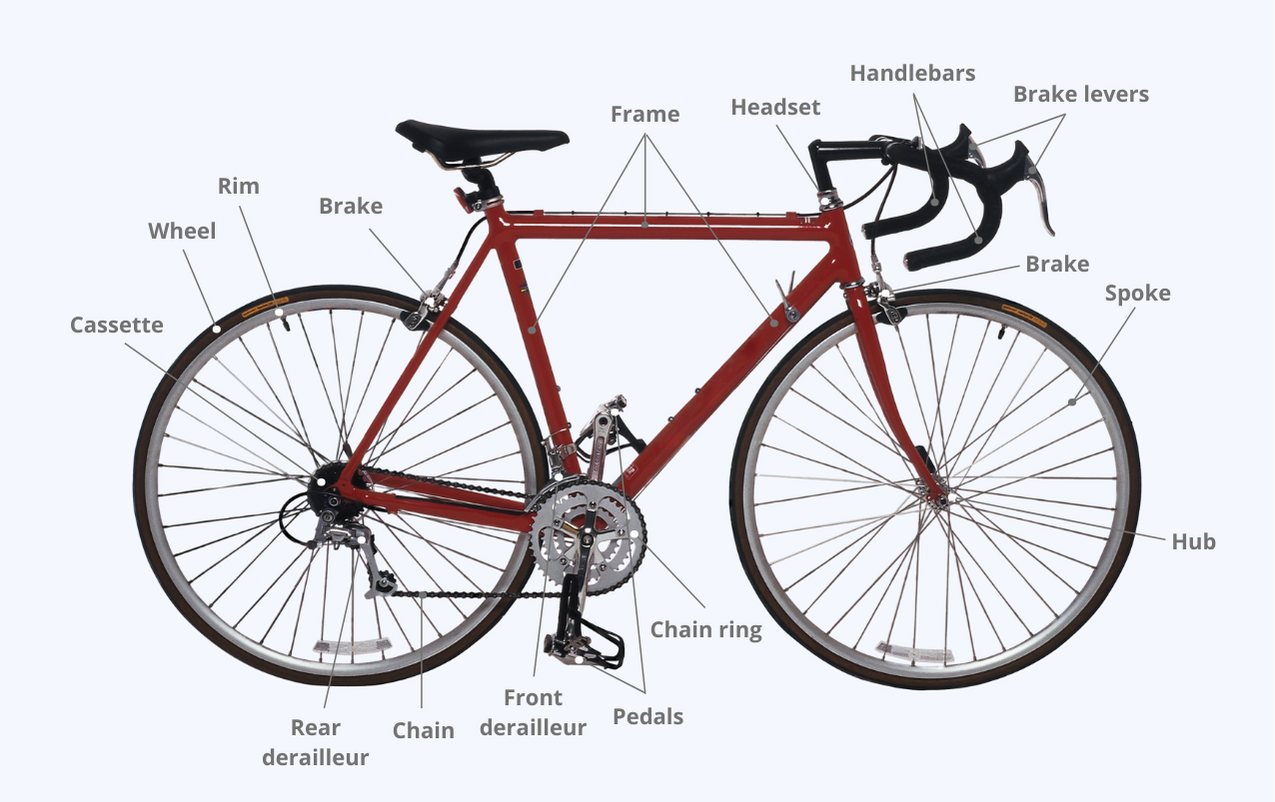
Each bicycle comes with many parts that work mechanically together as a system. To give you a clearer picture, these are the parts of a bicycle that usually require servicing and maintenance:

Tools You Will Need For Bicycle Servicing
Before you begin servicing your bicycle, here are some tools to have within reach:
- Bicycle stand
- Water hose
- Bike shampoo
- Selleys RP7 multipurpose lubricant
- Hard bristle brush
- Cleaning cloths or rags
- Bike grease
- Bike polish
How To Clean Your Bicycle At Home
You might be thinking — isn’t this a guide for bike servicing? Well, if you clean your bicycle the right way, there may be less likelihood of encountering issues that require servicing!
Neglecting your bike will allow dirt to accumulate in the wrong places that can cause accelerated wear in components. You’ll be surprised to see how cleaning can help you avoid many mechanical issues!
Here’s how to go about cleaning your bicycle at home:
Step 1: Place your bike on a stand
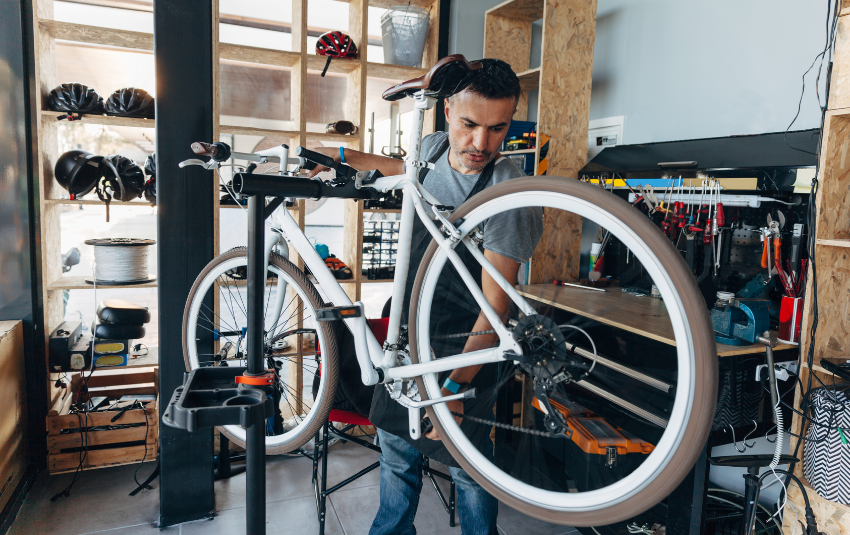
To get easy access to each component of the bike, it’s best to place it on a stand. If you don’t have one, you can also place the bike upside down on its seat and handlebar.
Step 2: Wash the bike to remove loose dirt
Using a water hose, spray the bike to remove any loose dirt that has accumulated. This will also ensure that the bike is wet enough before it’s shampooed in the next step.
Step 3: Apply bike shampoo to frame and rinse off
Next, pour a combination of warm water and bike shampoo in a spray bottle and spray it directly to your frame! Then, use a sponge or cloth to spread the soap around the frame.
As bike shampoo is non-abrasive, it will remove dirt from the frame without damaging the paint colour.
Once the frame has been cleaned, rinse off the soap with a water hose.
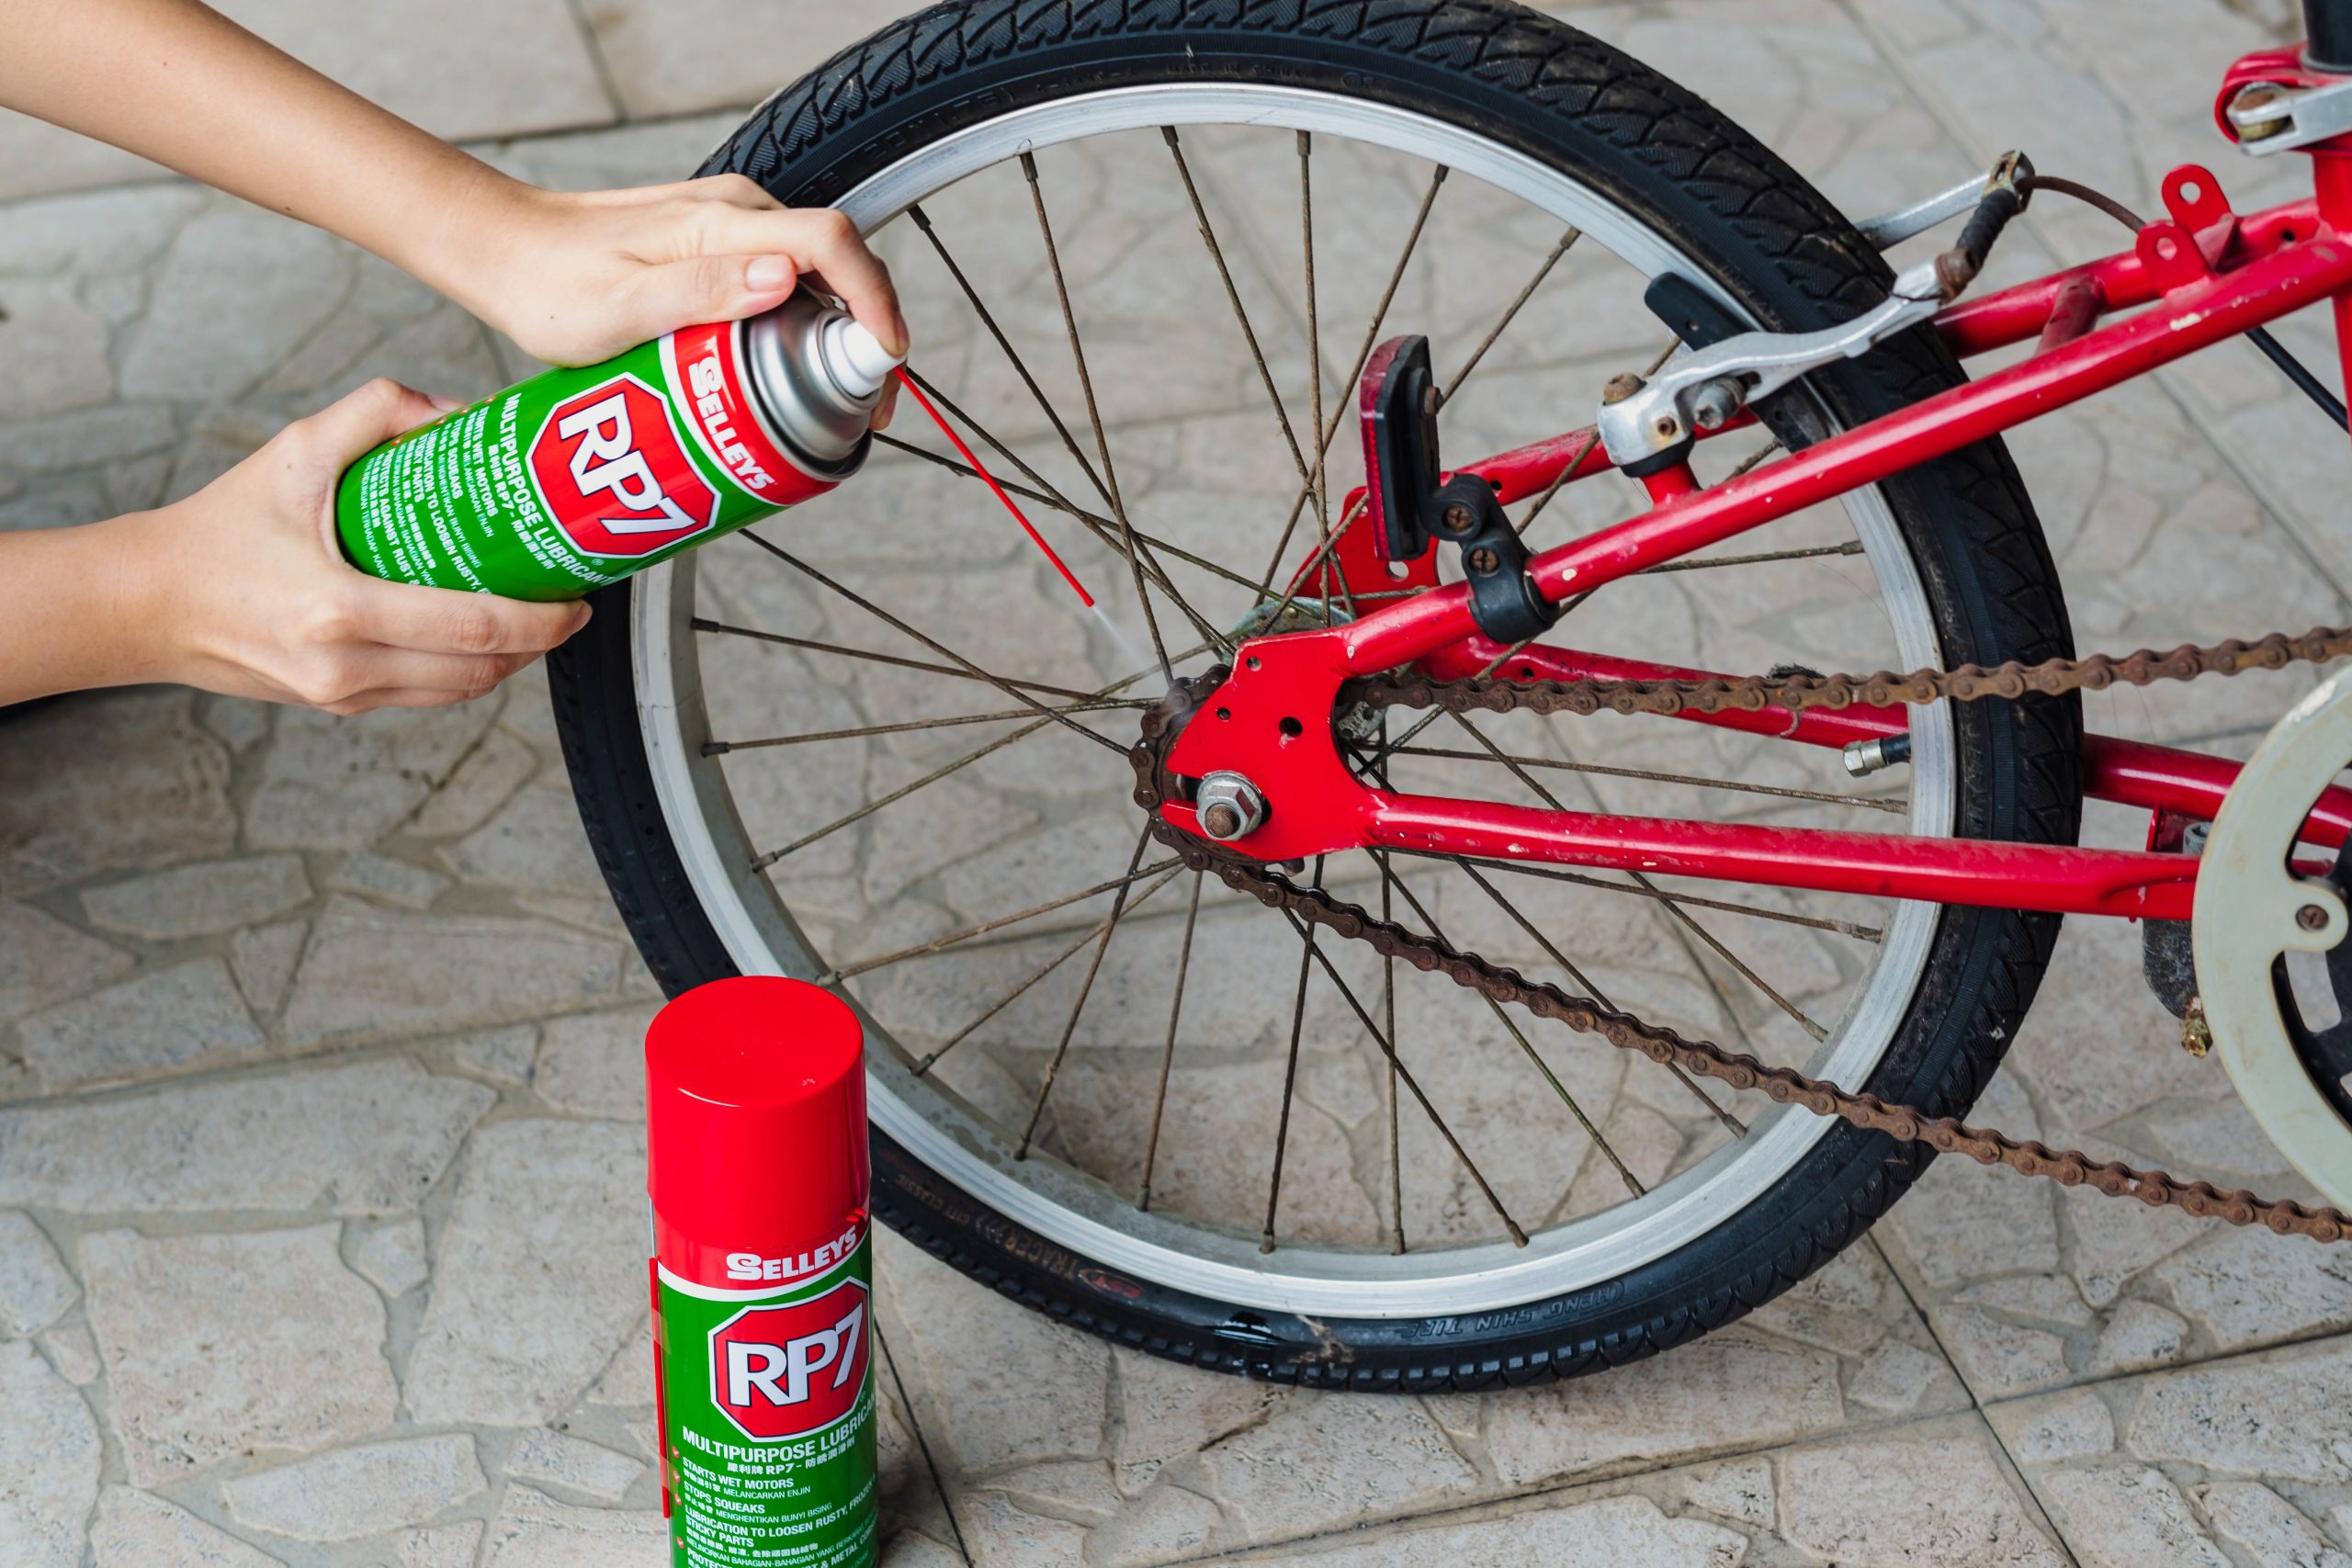
Step 4: Spray Selleys RP7 on groupset and rinse off
The next part to clean is the groupset, which consists of the shifters, crankset, bottom bracket, front and rear derailleurs, chain and cassette.
You can clean them with Selleys RP7 — this multipurpose spray
- eliminates moisture,
- displaces rust and removes sticky residue and
- removes dirt and grime.
This will leave your bicycle chain clean. Rinse off the solution with a water hose once done.
Step 5: Brush off any remaining dirt (if necessary)
Using a small stiff brush, clean off any remaining dirt in the crevices of your bike. Focus on the tight areas around the linkages, suspension, chain rings and derailleurs.
This is where you give your bike one last clean to rid off all the dirt and gunk that got stuck!
Step 6: Wipe the bike dry
With a clean dry cloth, wipe the bike down to remove any excess water. This prevents the bike parts from rusting.
Step 7: Grease the groupset
Once the bike is dry, lubricate the groupset by applying bike grease on them. Check that they run smoothly by rotating the pedals — now, you can ride smoothly without friction!
Step 8: Polish the frame
This may be optional for some, but it really gives your bicycle the extra oomph! Fill a spray bottle with some bike polish, spray it on a clean cloth and use it to wipe the bike frame. This maximises the spray while preventing it from getting into your brakes.
And that’s all! Your bicycle should be spotless.
How To Service Your Bicycle At Home
After a thorough cleaning, the next step is to do an inspection of your bike and service it if required. This includes doing a quick repair or replacement of faulty parts.
Here’s a checklist of what to check and do when servicing your bike at home:
1. Check the wheels
The first thing to check would be the bicycle wheels! For this, there are a few things to check:
- Check if the wheel is true — Spin the wheel and look at it from the front or rear; it shouldn’t be wobbling more than 5mm side-to-side
- Quick release skewers should be tight and working well
- Hubs should spin smoothly
2. Check the brakes and cables
Next, check the brakes and cables — it’s crucial to ensure that they’re in good working condition for safety reasons. Here’s how to conduct the check:
- While having the bike on a stand, spin the wheels and press the brakes — they should lock instantly
- Sufficient tension in cables
- Brake levers don’t have too much resistance
- Brake pads should touch both sides of the rim at the same time (only applicable to certain bicycle models)
If any parts are worn out, you should get them replaced immediately to prevent other parts from wearing as well.
3. Check the gears and drivetrain
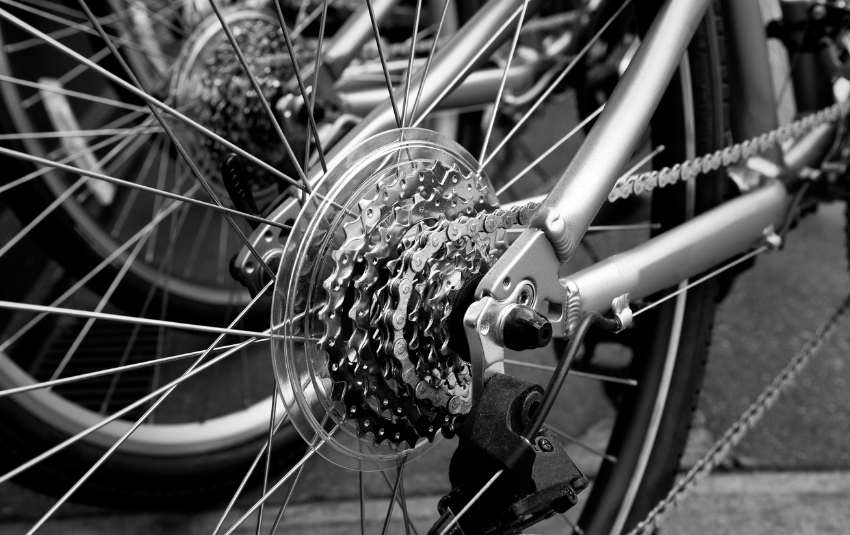
After checking the brakes and cables, the next thing on the list are the gears and drivetrain! This usually involves the pedals, chain, chain rings, front and rear derailleurs and cassette.
To test them, use your hand to press on the pedals as if you were riding the bike and watch how the chain moves on the cassette. It should be shifting smoothly upward and downward between the small and big ends of the cassette.
If you notice any of these:
- Down shifting is working well but up shifting has resistance: It is likely you have dirty gear cables that need to be replaced
- Chain is dropping off the big or small end of the cassette: You may need to adjust your limit settings; check for a bent derailleur hanger
- Indexing is correct but chain is jumping or slipping: You may need a new chain or cassette
After clearing all checks, lubricate the chain to prevent rust and resistance, as well as slow down wear and tear. Do note that this is only applicable if you’re servicing the bicycle without prior cleaning.
4. Tighten everything up
The last thing on the checklist is to ensure that all bolts on the bicycle are tight, while still adhering to the torque rating to prevent over-tightening.
Also, check that the headset, handlebars and stems are kept sufficiently tight. Note that if they’re too tight, you won’t be able to turn the handlebars freely which could damage the bearings and other components.
FAQs About Bicycle Servicing
How often should I service my bicycle?
It’s generally recommended to service your bicycle at home every 3 months to keep it in good shape. It’s also good to send it to a bike shop to get it serviced professionally every 12 months.
The ideal frequency depends on how often you ride and the kinds of conditions you’re riding in. For example, if you ride in the rain or mud often, your bicycle could use more frequent servicing.
What should I check for when servicing my bicycle?
A servicing check at home should include a brake and gear adjustment, lubrication and tyre inflation. However, if you ride daily or if you haven’t cycled in a long while, it’s best to get your bicycle checked by a professional.


