Wall cracks can be unsightly – they can make your home look old and worn. Aside from being a cosmetic problem, they may occasionally signify a larger underlying issue such as structural damage.
In this article, we’ll cover the types of cracks you may find in your home and their causes so you can better identify the severity of the issue. We’ll also share the steps and tools needed for a wall crack repair job!
Table of Contents
Types Of Wall Cracks
There are various types of wall cracks that you may find in your home and some may pose a more serious issue than others.
1. Minor cracks
Potential cause for concern: Low – medium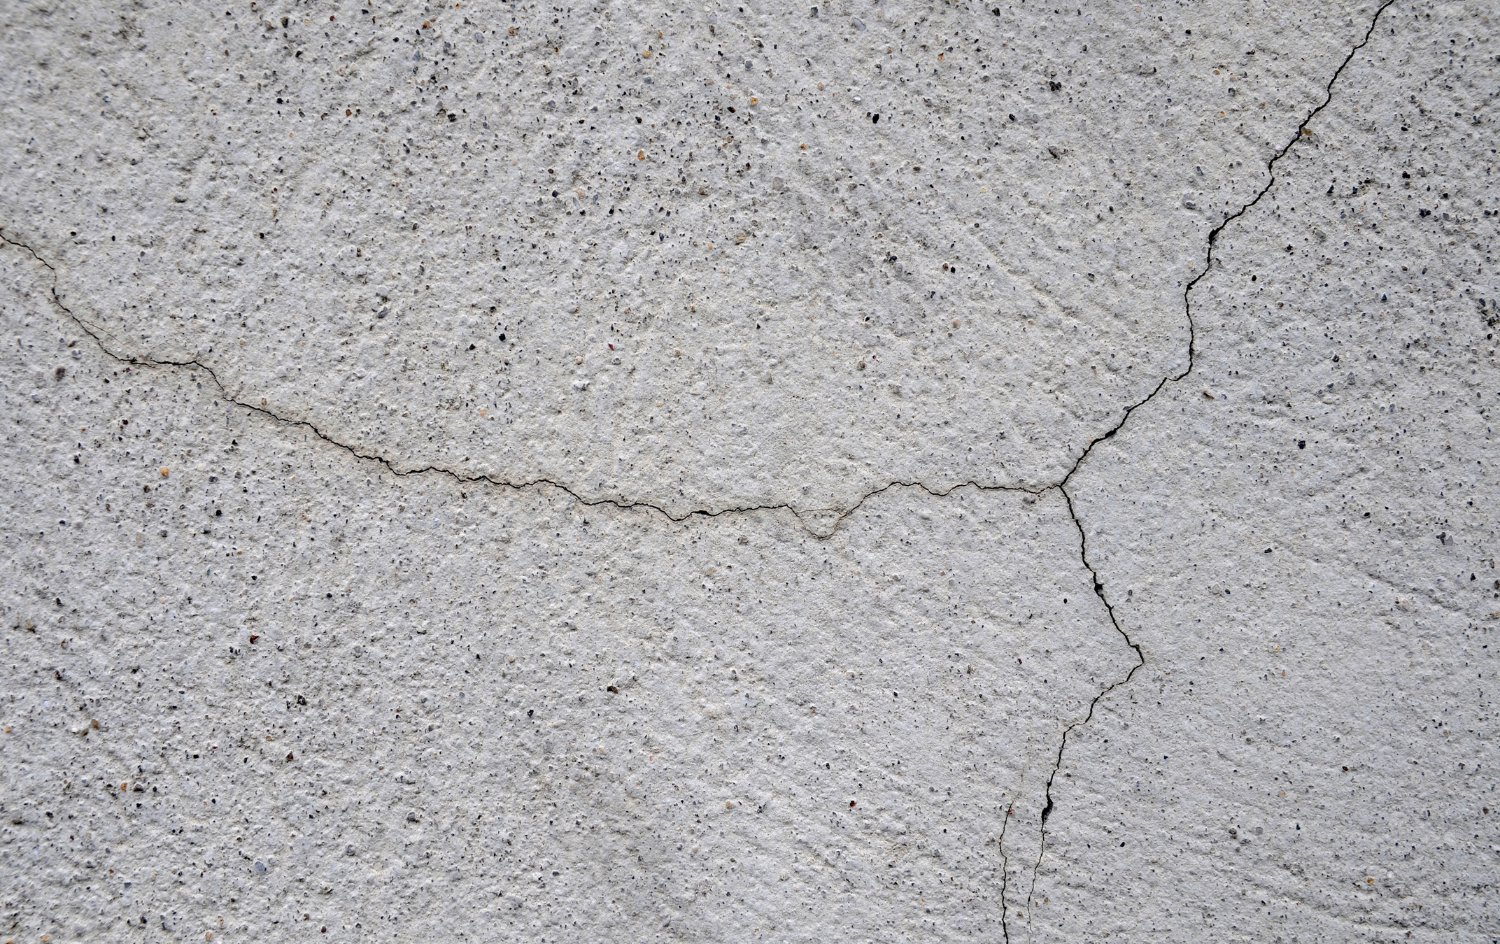
Minor wall cracks can include hairline, vertical and spiderweb cracks. These aren’t typically a cause for concern and can be easily repaired yourself.
- Hairline: These are negligible cracks that tend to appear near doors and windows.
- Vertical*: They’re often caused by house settling and are relatively easy to repair as they run in the same direction as drywall.
- Spiderweb: These cracks typically occur with drywalls. As the joint compound shrinks as it dries, an overly thick application may give rise to cracks during the drying process.
*The severity of a vertical crack depends on its width. A wide vertical crack may potentially be a cause for concern.
2. Wide cracks
Potential cause for concern: High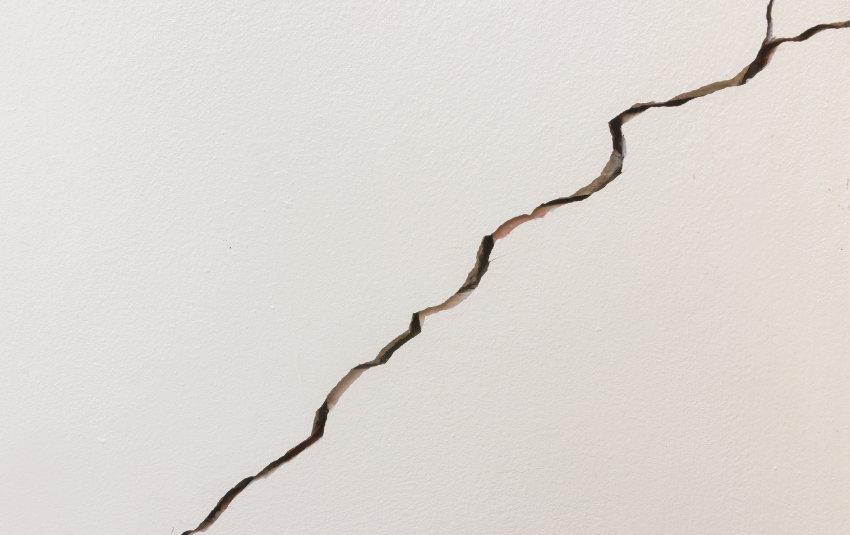
Wide cracks may be an indication of structural damage, especially if they persist after repairs have been made. In particular, cracks that are wider than 2.5cm typically signal a structural issue. It’s also a problem if you encounter difficulties closing your doors and windows.
It’s recommended to seek the help of a professional in the repair.
3. Horizontal cracks
Potential cause for concern: High
Cracks that run across your wall horizontally (often under your windows) are typically a cause for concern – they may be a sign of issues with the home’s foundation. These cracks can affect both drywall and concrete walls.
Like wide cracks, a professional contractor’s help is recommended for the repair.
Causes Of Wall Cracks
There can be various causes for cracks in your walls and diagnosing the reason can help in fixing the issue. It can even allow you to avoid such problems in future!
Low-quality paint
Low-quality paint may have difficulties adhering to your wall. Over time, this can lead to cracks on the surface.
Poor or rushed paint job
While painting can be tedious and time-consuming, it’s crucial to take the time and effort needed to do it well.
Failing to let the paint or underlying material dry completely before applying another coat can cause cracks. Additionally, using different paint for each coat can also cause cracks to form.
Poor taping
Paper tape is used in the installation of drywall panels to cover the drywall compound. If an insufficient amount of compound is used, the tape is unable to adhere firmly. Over time, it may pull away from the wall, causing cracks to form.
Contraction and expansion
Contraction and expansion of your wall can result in minor cracks. This phenomenon often occurs due to changes in temperature and humidity levels.
Water leaks
Water leakage that seeps into your drywall can cause the material to soften and deteriorate over time. This results in a crack, which is often accompanied by a yellow or brownish discolouration.
Foundation problems
Issues with the foundation of the building are one of the most alarming causes of wall cracks. They are structural problems that require immediate attention from a professional.
How To Repair Wall Cracks
Since the home is where we come back to after a long day, it’s best to fix any cracks and have the walls looking good as new. Here’s how you can go about repairing minor wall cracks in your own home!
Tools needed:- Scraper, putty knife or penknife
- Brush or handheld vacuum
- Selleys No More Gaps, No More Gaps Coloured Caulk, Wall Putty or No More Big Gaps
- Sandpaper
- Sealer
- Paint
- Paintbrush
Step 1: Widen the crack
To start off, the first step is to widen the crack to approximately 0.64cm (1⁄4 inch). No, you didn’t read it wrong – widening the crack, especially if it’s a hairline one, allows you to remove any dirt or debris that may impede the repair process. It also enables the gap filler/sealant or compound to fill the crack properly.
You can do this using a scraper, putty knife or penknife. You may require a hammer and chisel for concrete walls.
Note!
You can determine what material your wall is made of by carrying out 2 simple tests:
1. Press a thumbtack or pin into an inconspicuous part of your wall. The pin won’t penetrate the wall if it’s made of plaster but it’ll penetrate drywall easily.
2. Using your knuckles, knock on the wall. A drywall will produce a hollow sound while a concrete wall will sound dense.
Step 2: Clean the crack
Once you’ve successfully widened the crack, it’s time to clean it! Use a dry brush or handheld vacuum to remove any dirt, paint or debris.
Step 3: Fill the crack
The next step is to fill the crack. Depending on the size of the crack, you may need to use different solutions:
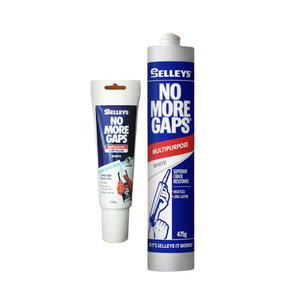
Selleys No More Gaps
Price: $6.42 – $10.70
For: Small cracks
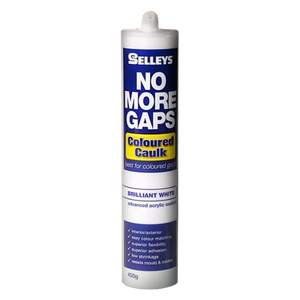
Selleys No More Gaps Coloured Caulk
Price: $6.42
For: Small cracks; does not require painting over

Selleys Wall Putty
Price: $3.75
For: Medium-sized cracks
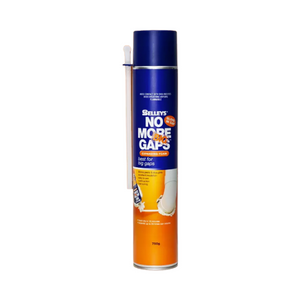
Selleys No More Big Gaps
Price: $14.98
For: Large cracks
These products are suitable for all types of walls including concrete, drywall and plaster walls. If you don’t wish to paint over the crack, you can try using Selleys No More Gaps Coloured Caulk. There are 10 different colours to choose from so you may be able to find one that matches your wall!
• Small cracks
Placing the applicator nozzle against the crack, squeeze a small amount of Selleys No More Gaps or No More Gaps Coloured Caulk. Next, use a putty knife to smoothen the surface.
• Medium-sized cracks
Using a putty knife, apply Selleys Wall Putty to the crack. Leave it to dry before applying another layer (if necessary).
• Large cracks
Shake the Selleys No More Big Gaps can for approximately 20 seconds before placing the adapter on the valve. Next, spray some water to moisten the surface of the area where the product will be applied.
Apply the Selleys No More Big Gaps to the crack up to 50% and let the foam expand and fill the crack. Remove any excess product with a damp cloth immediately and rinse your hands and tools with water.
If you’re applying more than 1 layer of foam, ensure that the surface is moistened before applying the next layer.
Note!
Aside from cracks, the methods above can also be used for repairing gaps or holes in your wall!
Step 4: Sand the surface
After the surface has fully dried, you can proceed to sand the surface until it’s smooth and even. You may want to wear a face mask during this step to avoid inhaling any particles.
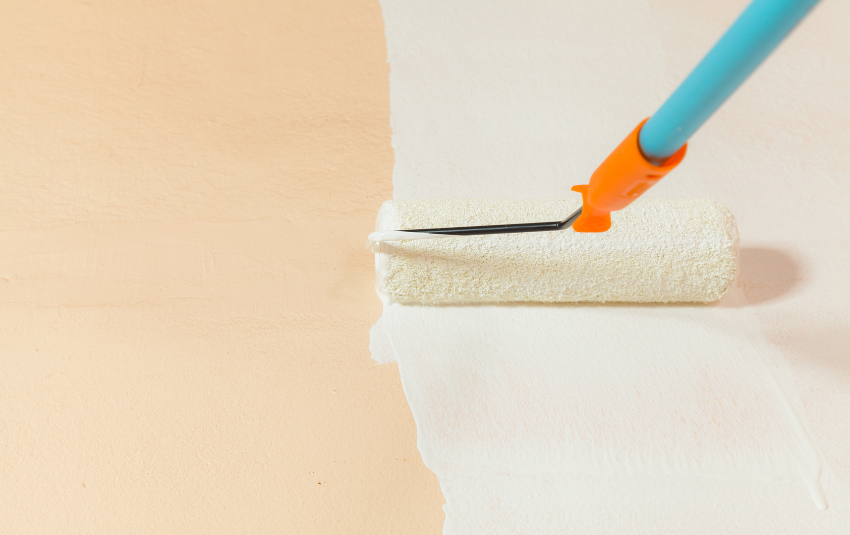
Step 5: Paint over the surface
The final step is to paint the wall. You can use a sealer before applying the paint, and you may want to consider using a reputable brand to prevent cracks over time. Some examples of sealers would be Nippon Paint 5101 Odour-less Sealer and Nippon Paint Aqua Primer Sealer Undercoat.
Additionally, if you are applying multiple coats, remember not to rush through the process! It’s important to ensure that the surface is completely dry before painting over the next layer.
FAQs About Repairing A Wall Crack
How do I know if the cracks in my wall are serious?
Wide and horizontal cracks are often more serious and require the attention of a contractor. On the other hand, narrow cracks tend to be less serious and you can easily repair them yourself!
Can I repair wall cracks on my own?
Yes, you can repair minor cracks on your own using products like Selleys No More Gaps, No More Gaps Coloured Caulk, No More Big Gaps or Wall Putty, depending on the size of the crack. However, those with structural damage will require professional help.
How can I prevent cracks in my walls?
There are some steps that you can take to prevent wall cracks such as:
- Using good quality elastomeric paint* (e.g. Nippon Paint 3-in-1 Medifresh)
- Letting paint dry completely before layering on another coat
- Re-painting your walls regularly
- Facilitating cross-ventilation in your home
*Elastomeric paint is able to stretch and cover minor hairline cracks so they won’t appear so quickly.