Cornices can really add to the character of the room. Installing them has never been easier!
Here is a step by step guide.
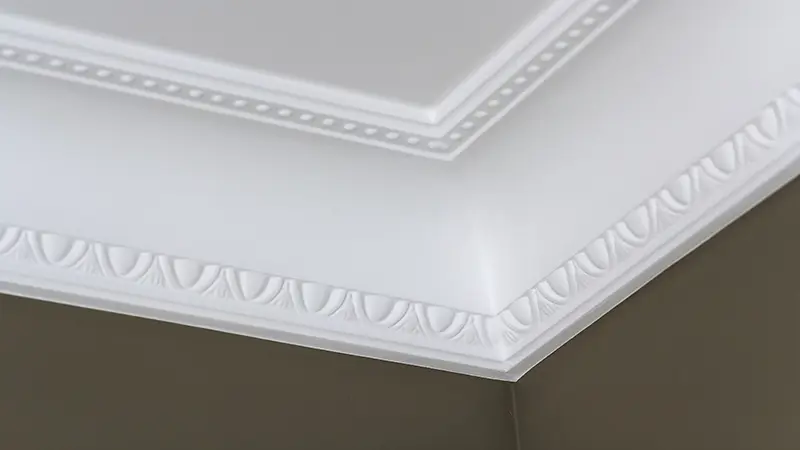
Table of Contents
What You Need
- Selleys Liquid Nails
- Selleys Caulking Gun
- Cornices cut to size
- Mechanical fasteners
How To
- Make sure both surfaces are clean, dry and free of oil, grease and dust.
- Cut the cartridge tip and the nozzle to about 5mm.
- Use the caulking gun to apply a bead of Liquid Nails to the top and bottom of the back of the cornice surface.
- Bring surfaces together as soon as possible within 10 minutes. Place cornice firmly into position and press against the wall.
- Liquid Nails should be used with mechanical fasteners in structural, critical or high stress applications.
- Fast clean up with water while it’s still wet.