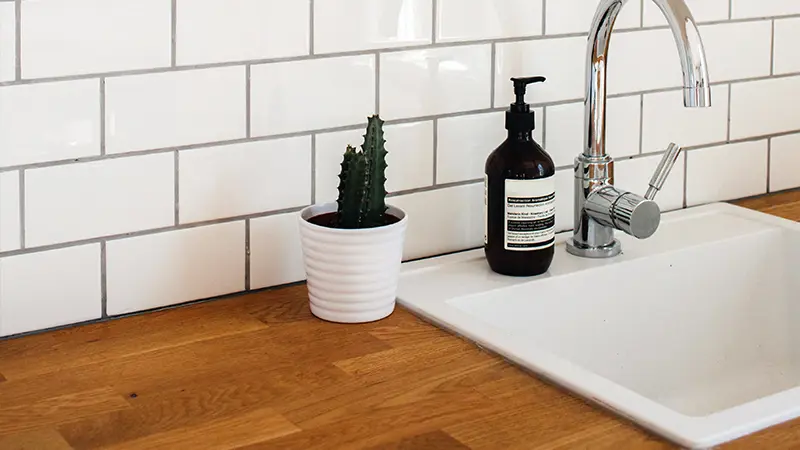
Sealing your splashback is the final step to installing a splashback and perhaps the most important!
If water falls behind, it can create mould, rot and can trap dirt. It’s super easy to prevent this is using Selleys Wet Area Silicone Sealant. Check out the tips below.

Table of Contents
What You Need
- Selleys Wet Area Silicone Sealant
- Selleys Caulking Gun
- Mineral turpentine
- Painters tape
- Clean cloth
- Spatula
- Scraper
How To
- Remove the old silicone using a sharp knife and then scrape away residual silicone.
- Clean and dry the surface with mineral turpentine.
- Tape both sides of the gap before you begin sealing to ensure a neat finish.
- Cut the tip of the Selleys Wet Area Silicone Sealant cartridge and then cut the nozzle at a 45 degree angle.
- Place the cartridge in the caulking gun and fit the nozzle.
- With a steady hand, hold the gun at a 45 degree angle and carefully gun the sealant out.
- Smooth the sealant with a spatula dipped in detergent.
- Remove the tape before the seal skins.
- Allow to dry for 72 hours.
Handy Tips
- Clean up excess sealant before it skins with a cloth dampened in mineral turpentine.
- The sealant will cure fully in 72 hours and you can carefully trim any excess then with a sharp blade.

