Whiteboards are an essential tool for brainstorming, presenting and collaborating in schools and workplaces. But they can also be magnets for dust, marker ink and other debris. Fortunately, there are a few simple steps you can take to keep your whiteboard as white as snow.
Learn about the different types of whiteboards and what’s the most effective way to keep them looking clean!
Table of Contents
Types Of Whiteboards In The Market
There are various types of whiteboards in the market. The most common ones are melamine, glass, and porcelain. Though all of them can be cleaned using the same methods, some materials require more work before they can become squeaky clean.
Melamine whiteboards
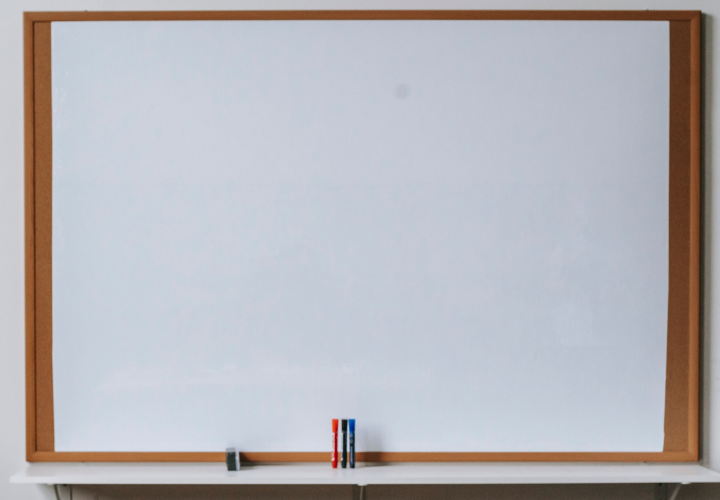
Melamine whiteboards have a dry-erase coating. The smooth writing surface makes it easy to remove marker stains. However, the coating isn’t very durable so you’ll need to clean them more often.
They’re also non-magnetic and prone to scratches. Furthermore, melamine is a porous material which can absorb ink quickly.
Though they need regular maintenance, melamine whiteboards are one of the least expensive options in the market.
Glass whiteboards
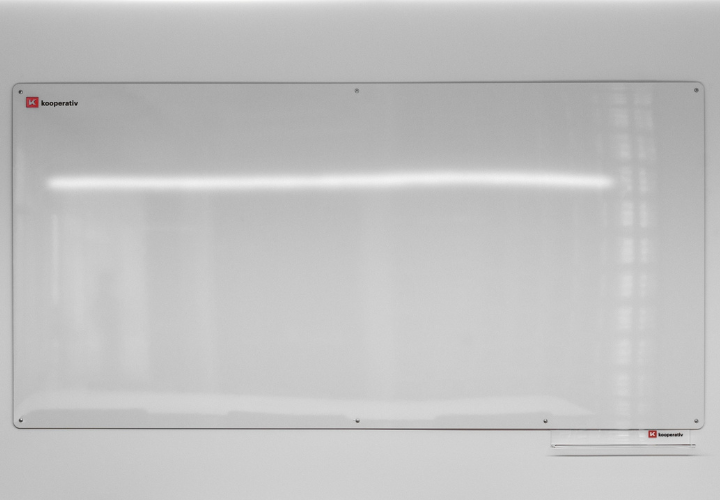
Glass whiteboards are the champion when it comes to durability and aesthetics. The transparent glass surface adds a sleek, contemporary look to any space. They’re also scratch-resistant and won’t show ghosting.
Though they’re more expensive than traditional whiteboards, they’ll be worth your investment.
What is ghosting?
Ghosting occurs when residue from markers collects on the surface of the whiteboard, leaving behind stains. This can be caused by prolonged usage, dirty erasers, or using markers that aren’t designed for dry-erase boards.
Porcelain whiteboards

In addition to being easy to write on, porcelain whiteboards are magnetic and have a steel backing to enhance their durability. The material is non-porous so the ink doesn’t penetrate the surface. Hence, they won’t stain or ghost as you write.
What You Can Clean Whiteboards With
There are a dozen different items you can use to clean your dirty whiteboard. If you prefer a more convenient way to transform your board back to its original state, chemical products offer a quick solution.
For those who want to achieve the same results using DIY methods, we’ve also listed some household items which you can find in your kitchen.
Chemical solutions
There are a variety of chemical solutions that won’t damage your whiteboard throughout the cleaning process. Depending on how long those stains have remained on your board, you may need to use a stronger cleaning solution.
Below are some products you can use to keep your whiteboard looking pristine.
- Hairspray
- Hand sanitiser
- Mild detergent and water
- Nail polish remover
- Rubbing alcohol
- Selleys RP7
- Selleys Glass Cleaner
- Selleys Liquid Sugar Soap
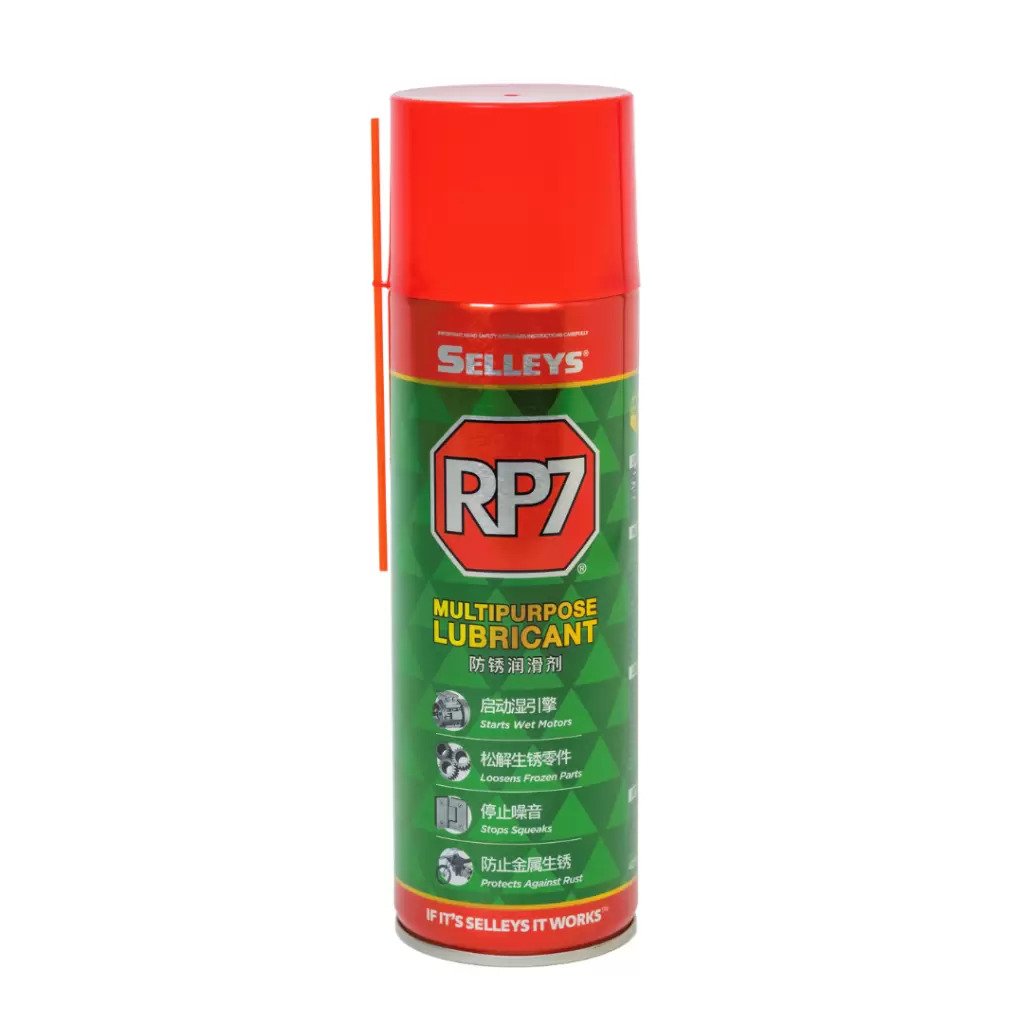
Selleys RP7
Suitable for: Removing permanent marker stains on whiteboards
Selleys RP7 is a multi-purpose lubricating and penetrating spray that can be used to clean a variety of surfaces.
It contains a high-efficiency penetrating agent capable of removing many types of stains, including the unsightly marker ink on your whiteboard.
Plus, it can help you get out of a ‘sticky situation’ by removing sticky residue.
Features:
- Eliminates loud squeaks
- Removes moisture
- Lubricates rusty and sticky surfaces
- Prevents rusting and metal corrosion
- Removes grime
- Removes permanent marker stains from whiteboards
- Starts wet engines
- Safe to use on rubber, paintwork or most plastics
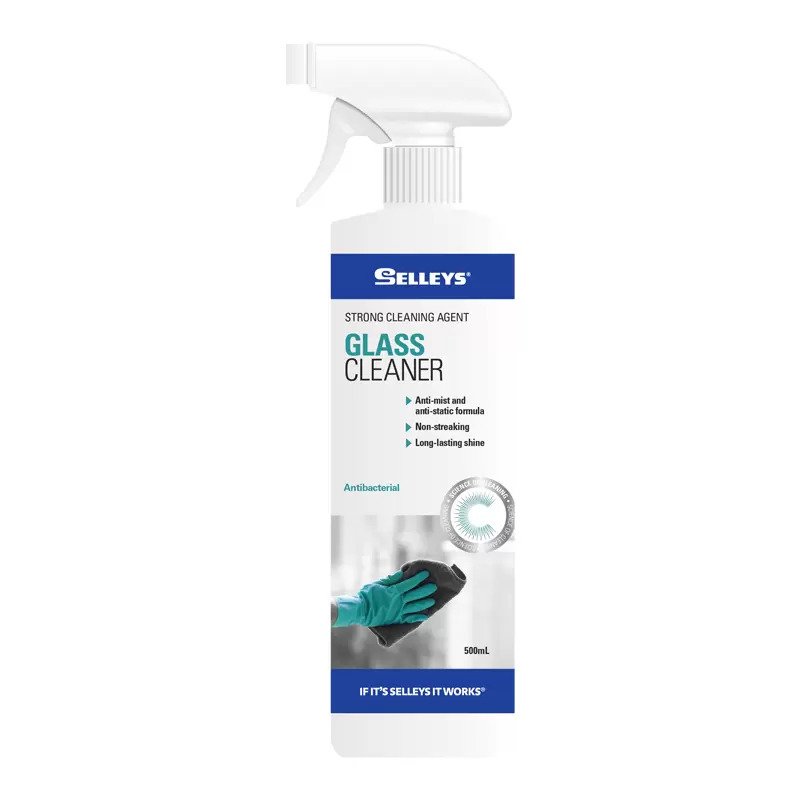
Selleys Glass Cleaner
Suitable for: Glass whiteboards
Selleys Glass Cleaner is an effective cleaning agent that works well on glass whiteboards.
The non-streaking formulation ensures that the surface will be left with a long-lasting shine.
Features:
- Contains an antibacterial formula that keeps germs away
- Quick and fast-drying
- Contains anti-mist and anti-static formula that’s great for cleaning glass, mirrors, and aluminium
Selleys Liquid Sugar Soap
Suitable for: Glass and porcelain whiteboards
Selleys Liquid Sugar Soap is a high-performance solution that can remove even the toughest grease and grime.
The professional strength formula is effective for cleaning a variety of surfaces, including glass and porcelain whiteboards.
Features:
- Excellent for cleaning surfaces prior to painting and wallpapering
- Concentrated formula which can be diluted with water to create a more gentle solution
- Safe to use on materials including stainless steel, ceramic tiles and laminated surfaces
Non-chemical solutions
If you prefer a more natural way to clean your dry-erase board, try the following items.
- Fabric softener sheet
- Melamine magic sponge and water
- Baking soda and water
- Vinegar and water
- Paper towel and water
How To Clean Whiteboards: Step-by-step Process
Cleaning a whiteboard may sound like a piece of cake but there’s more to simply using any of the remedies listed above and wiping them off. Here’s a step-by-step guide on how to clean your whiteboard thoroughly.
Step 1: Remove any debris
Dust the surface with a dry microfiber cloth. This will remove any loose dirt or debris.
Step 2: Apply the solution to the board
Before you begin this step, make sure you’re in a well-ventilated environment if you’re using harsh chemicals.
Dab a clean cloth or sponge in your preferred cleaning solution. Using the cloth, apply the cleaning product to the whiteboard and rub it against the area you want to clean.
Step 3: Wipe the board with water
Once you’re done removing the stains, wipe the board with a clean, damp cloth. This will remove any excess cleaning solution.
Step 4: Dry the board
Use a clean dry cloth to buff the surface until it’s completely dry.
Step 5: Repeat the process if necessary
Cleaning it once may not be enough if your whiteboard has accumulated lots of stains. You may have to repeat the process to see better results.
If you still find yourself struggling to remove tough stains, try covering the marks with dry-erase ink. Once it has dried, give your board a good rub with an eraser or cloth and the marks should be gone.
Tips For Cleaning Whiteboards
In addition to the steps above, here are a few more tips to help you remove those scribbles and stubborn streaks.
1. Use a microfibre cloth
Microfibre cloths are made of extremely fine fibres that can absorb and remove ink without damaging the surface of the whiteboard. They’re also highly effective at picking up dirt and dust which helps keep your whiteboard sparkling clean.
2. Test the cleaning solution on an inconspicuous area first
Don’t start cleaning the entire whiteboard immediately. Test it at the corner and see if the solution works. If it’s effective and doesn’t damage the board, go ahead and wipe the entire surface.
3. Clean your whiteboard regularly
Frequent cleaning is key to keeping your whiteboard spotless. For boards that are heavily used, daily cleaning is necessary. For boards that aren’t used as frequently, cleaning every 1 to 2 days should suffice.
Deep cleaning should be done at least once a month or more often to ensure that your whiteboard will serve you well for years to come.
What To Avoid When Cleaning Whiteboards
It’s important to clean your board frequently but there’re a few things you should avoid if you don’t want to ruin it.
1. Avoid wax-based cleaners
Wax-based cleaners may seem like they can do a good job of removing dirt and grime, but in reality, they leave a film residue which can be extremely difficult to remove.
2. Avoid abrasive cleaners and harsh chemicals
Abrasive cleaners can scratch the surface of the board, making it more difficult to write on. One example is the tube of toothpaste in your bathroom! It’s mildly abrasive and can ruin the surface in the long run.
You’ll also want to avoid cleaning solutions that contain bleach or other harsh chemicals as they can damage the board.
3. Avoid using your hands to clean a whiteboard
Wiping off the ink with your hands may seem convenient but you should refrain from doing so. The dirt and oils on your skin will remain on the surface, damaging your board in the long run.
FAQs About Cleaning Whiteboards
How to clean whiteboard erasers?
Over time, whiteboard erasers can become stained and caked with dried-on markers. This not only looks unsightly but can also make the erasers less effective. Fortunately, there are several ways you can clean them.
• Dish soap
Mix dish soap and hot water in a pan which you don’t use for cooking (marker ink may contain harmful chemicals). Soak your erasers in the soap solution for at least 20 minutes. Rinse them with running water until the ink is removed. Finally, dry your erasers under sunlight for 1 to 2 hours before using them.
• Toothpaste
Squirt a small amount of toothpaste onto the erasers. Use a damp cloth to scrub away the dirt and grime. Next, rinse the erasers with water and dry them off with a clean towel. Leave them under the sun to dry and they’ll be as good as new in no time.
• Garden hose
Choose a location where you can create a mess because inky-coloured water will run from the erasers. Place your erasers on the ground and give them a good spray with the hose. The powerful stream of water will penetrate the cracks where the ink has built up.
Once you're satisfied that the erasers are clean, give them a final rinse with clean water. Then simply dry them off and put them away until next time.
How to clean permanent marker ink off whiteboards?
Permanent marker ink on your whiteboard is one of the worst nightmares. Thankfully, you can use a fresh dry-erase marker to remove it. Here's how to do so.
• Step 1: Use new dry-erase markers to write over the stains
Start by completely writing over the stains with a fresh dry-erase marker. The new ink will help to loosen the old stain, making it easier to erase.
• Step 2: Let the ink dry
Once the area is saturated with new ink, use a clean cloth or eraser to wipe away the stain.
• Step 3: Repeat the steps a few times
You may need to repeat this process a few times before the stains are completely removed.
• Step 4: Clean the board
When the nasty stains are gone, wipe your board again to clean off any remaining marks.