Do you hear a constant dripping coming from the kitchen or bathroom? Your water tap could be leaking. And while your first thought may be to call a plumber, fixing the leak isn’t actually as difficult as it sounds.
In our article, we share some causes behind the leak, the implications of not fixing a leaking tap promptly, and 7 easy steps for fixing it with tips included!
Table of Contents
Causes Of A Leaking Water Tap
There are various reasons for a leaking water tap including broken or damaged parts and high water pressure.
Here are some key parts of a water tap:
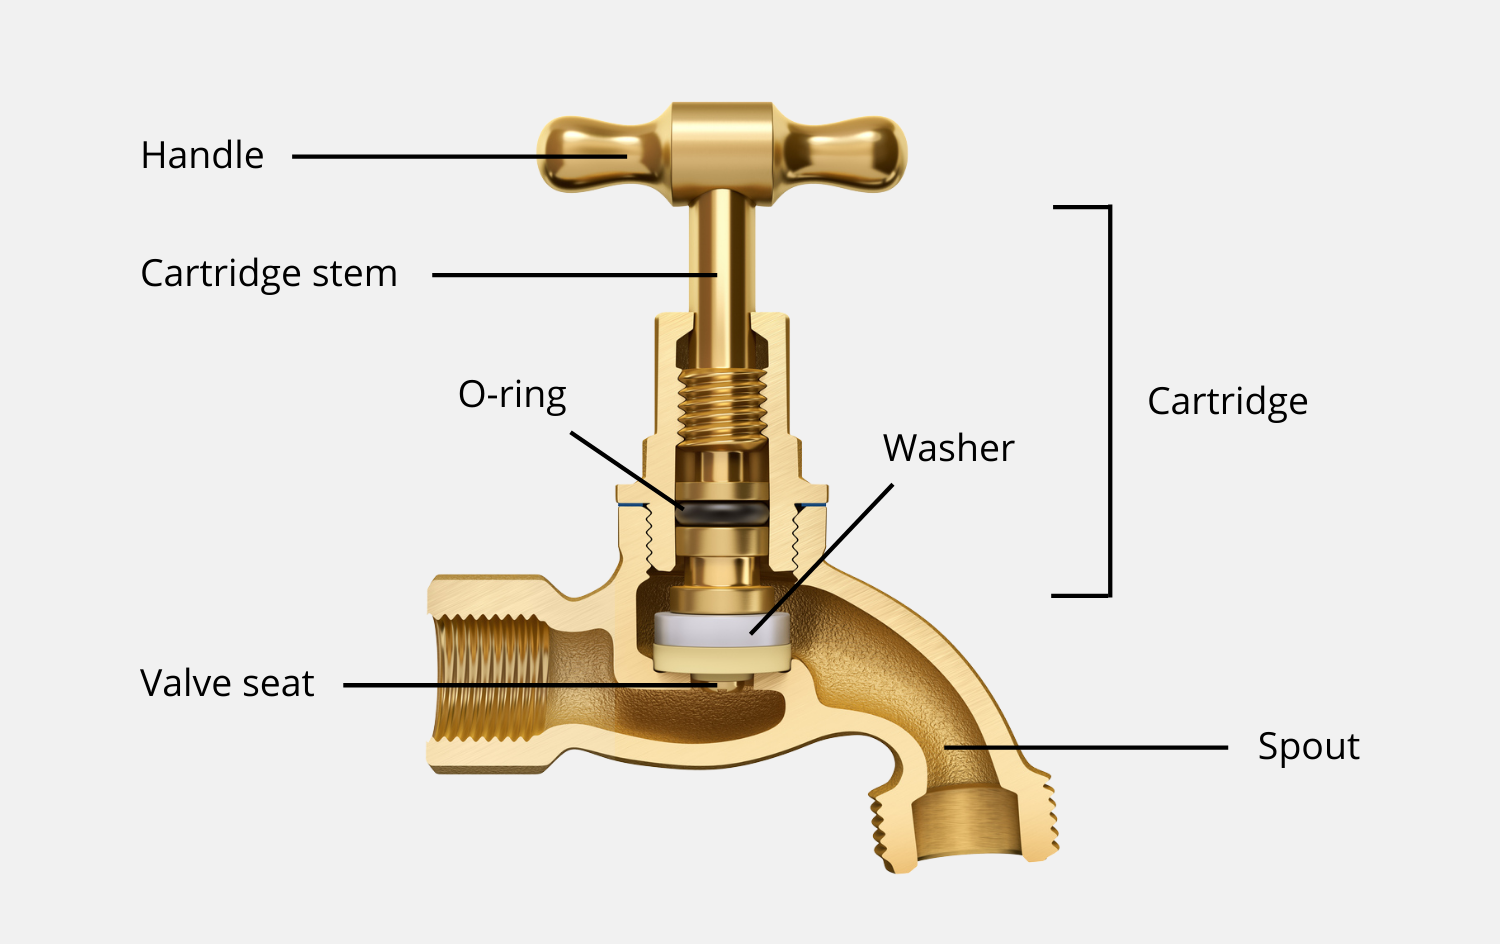
Broken or loose o-ring
The o-ring is a thin ring-shaped rubber piece that serves as a watertight seal to prevent the tap from leaking. When this ring breaks or becomes loose, water may start to drip.
Broken or poorly installed washers
The washer helps to regulate the flow of water. Due to wear and tear or corrosion, the washer may break, causing a leak to occur.
Poor installation or a mismatch in washer size may also result in leaks.
Damaged or worn-out cartridges
Tap cartridges help to regulate the pressure and temperature of the water output. When the cartridge experiences wear and tear or external damage, water leakage may occur.
Damaged or corroded valve seat
Water dripping from the spout could be a sign that the valve seat, which connects the tap to the spout, is damaged or corroded.
Overly high water pressure
If the pressure is too high, there may be a buildup of excess water in the pipes. This water may try to find an outlet to escape from, resulting in a leaking tap.
Implications Of Not Fixing A Leaking Water Tap
At first glance, a leaking faucet may seem like a small issue. However, it can cause various problems if not fixed promptly, including mould growth, water damage and water wastage.
1. Mould growth

Mould can form over time if your water tap is left dripping. This can spread to your walls and floors, and may even cause allergic reactions such as sneezing and skin and eye irritation.
2. Water damage
Leaving a small water leak unchecked for an extended period of time can result in damage to your furniture and flooring. This is especially so for items made of wood as they tend to absorb moisture.
3. Water wastage
Did you know that a single leaking tap can waste at least 400ml of water each day? This amounts to 146 litres a year! On top of wasting water, this can cause a hike in your monthly utility bills.
How To Fix A Leaking Water Tap
If you’re thinking about fixing a leaking tap on your own, here are 7 easy steps and the tools you’ll need for the job.
Tools you need• Adjustable spanner
• Screwdriver (flat-head and cross-head) and/or Allen key
• New parts (e.g. tap cartridge, washer or o-ring)
• Cloth (optional)
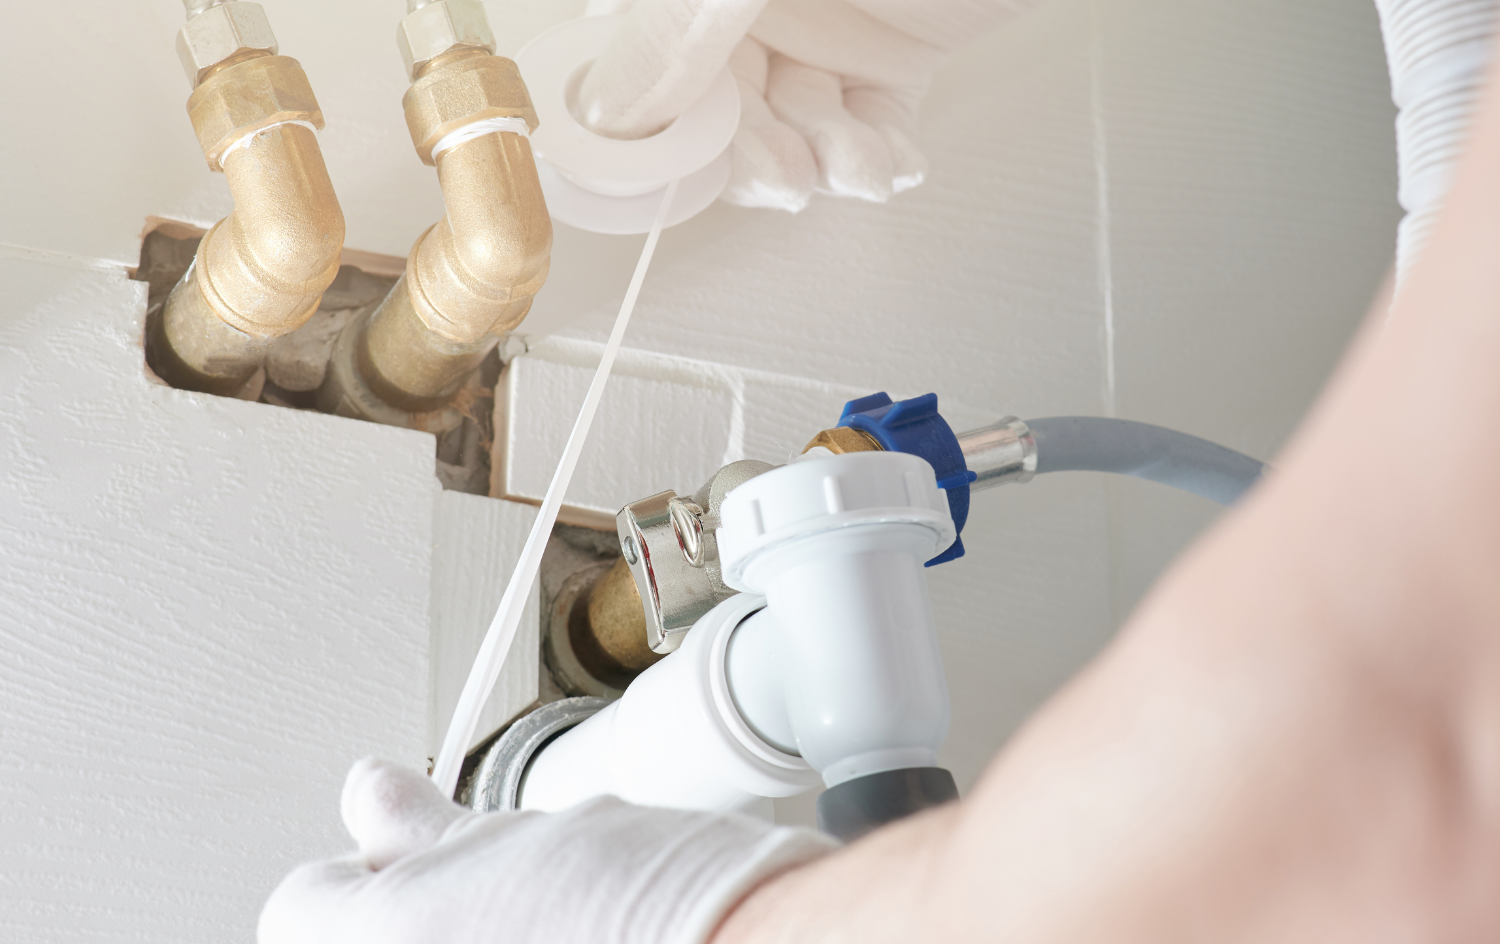
Step 1: Turn off the main water supply
The first and most important step in the process is to turn off the water supply to your house. This ensures that you don’t accidentally flood your kitchen or bathroom.
Once you’ve turned the water off, check by turning the tap on. If no water flows out, you’re ready to begin!
Step 2: Remove the handles
After turning the water off, it’s time to remove the handles. The method of removal will depend on the type of fixture you have.
• Handles with caps
Some tap handles have caps that hide the screw underneath. Simply use the flat-head screwdriver to remove the caps and unscrew the handle.
• Handles with grub screw
These handles require an Allen key to loosen the grub screw. After unscrewing, you can pull the handle off.
• Handles with levers that unscrew
Some taps come with levers that can be unscrewed to reveal another screw underneath.
• Handles that pull off
These tap handles don’t have screws and can simply be pulled off. If you’re having difficulties doing this, try using a flat-head screwdriver to pry it off.
Step 3: Remove the cartridge
Once the handles have been removed, you’ll see the cartridge (or tap stem). While some can be popped off, others may require a spanner to help with unscrewing.
You may want to place a cloth below the cartridge before removing it as some excess water may leak out.
Step 4: Inspect the parts to find the cause of the leak
Now that the respective parts have been removed, it’s time to find the cause of the leak. Carefully inspect each part for damage or corrosion, or observe if any of them are broken.
If they’re in good condition, the cause of the leak could be high water pressure.
Step 5: Fix the issue
If a part is damaged, corroded or broken, replace it with a new one. For washers or o-rings, it’s essential to ensure that they’re an exact fit to prevent any leakage.
Alternatively, if the cause of the leak is high water pressure, locate the water pressure regulator and adjust it slowly.
Step 6: Reassemble the tap
After you’ve replaced the necessary parts, reassemble the tap by reinserting the cartridge followed by the handle.
Step 7: Turn on the main water supply and check for leaks
Once the tap has been fully reassembled, the last step is to turn the water supply back on and check for any leaks.
If necessary, adjust the water pressure regulator again until you reach the optimal level.
Tips For Fixing A Water Tap Leak
To ensure that you fix the leak quickly and smoothly, here are some tips to help you out!
Ensure that the drain is plugged before you start
Before you begin fixing the tap, you might want to keep the stopper in to prevent any tiny parts like screws from going down the drain.
Use a cloth or masking tape to protect your tap
When disassembling the tap, you might want to use a cloth or some masking tape to protect the finish and prevent any scratches.
Bring the part to the hardware store when purchasing a replacement
After you’ve found the part that needs replacing, it may be a good idea to take it to the nearby hardware store to ask for an exact replacement. This can help you avoid situations where the part is too big or small for your tap.
Water Taps Recommended By Selleys Singapore
If the leak continues even after you’ve replaced the faulty parts, it might be a good idea to replace the entire tap. At Selleys Singapore, we carry a range of products including taps for the kitchen and bathroom, and wall-mounted taps.
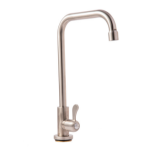
Kitchen sink taps
Chrome Kitchen Sink Tap (U-shape)
Price: $36.50
Chrome Kitchen Sink Tap (L-shape)
Price: $37.80

SUS304 Kitchen Sink Tap (U-shape)
Price: $39.70
SUS304 Kitchen Sink Tap (L-shape)
Price: $41.00
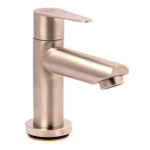
Basin taps

SUS304 Basin Tap (Flat)
Price: $43.70
SUS304 Basin Tap (Cold)
Price: $41.00
Bib/Wall-mounted taps
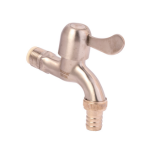
SUS304 Bib Tap – Lever
(15mm nozzle)
Price: $22.80
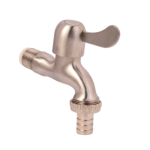
SUS304 Bib Tap – Lever
(19mm nozzle)
Price: $24.70
FAQs About Water Tap Leaks
How do I spot a leaking tap?
There are 2 ways to check if your tap is leaking:
- Check the spout: Place a piece of tissue below the spout and check if it gets wet after some time.
- Check around the base of the tap: Dry the area around the base of the tap and place some tissues around it. If it gets wet after some time, it’s likely that your tap is leaking.
Do I need to fix a water tap leak immediately?
Yes, it’s a good idea to fix a water tap leak as soon as possible. This can help prevent other issues such as mould growth and water damage from occurring. Additionally, it’ll help to save water!
Is it easy to fix a leaking water tap?
Yes, fixing a leaking tap is easy with the right tools and tips! It only requires 7 steps and can be done in less than 2 hours.
How long will it take to fix a water tap leak?
It typically takes less than 2 hours to fix a leaking tap.
What should I do if the leaking continues?
If the leaking continues, you might need to replace the entire tap or contact a professional plumber for help.