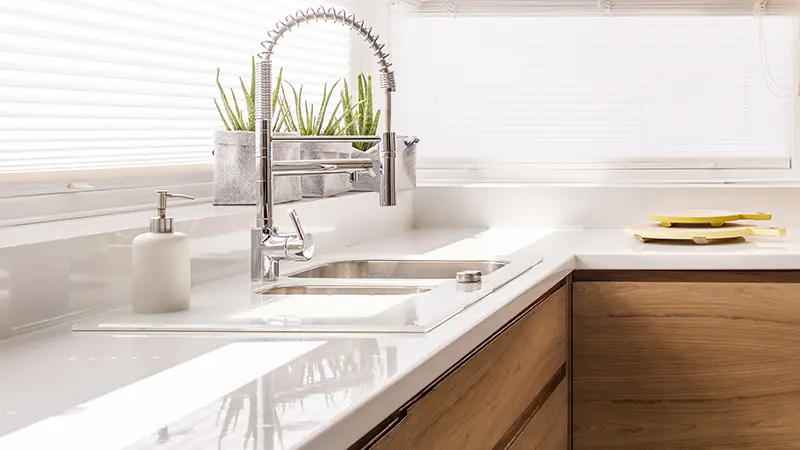
Getting a proper seal around your sink prevents water penetration.
Here’s the best way to ensure a complete seal around your sink area to make it easier to clean and less prone to water damage and discolouration.

Table of Contents
What You Need
- Selleys No Mould Silicone Sealant
- Selleys Caulking Gun
- Utility knife – a small, sharp blade makes cleaning edges safe and easy
- Rounded spatula
- A clean rag
- Mineral turpentine
How To
- Clean your workspace so that it’s free from dust and debris. If necessary, cut away or remove any existing silicone. Contaminants will prevent a decent bond, so wipe over the area with some mineral turpentine.
- Load the Selleys No Mould Silicone Sealant cartridge into your Selleys Caulking Gun.
- Hold the sealant tip at a 45 degree angle and apply the silicone evenly and with a steady hand. When you reach the end of the area you want to seal, release the lever to stop the flow of silicone.
- Use a damp finger or rounded spatula to wipe off any excess product to ensure a smooth, clean finish. Allow the silicone to cure before exposing to water (approximately 72 hours).
- Clean up any excess and tools with mineral turpentine before the product cures.
Handy Tips
- For neater joints, mask sides before applying sealant and remove tape before sealant skins.
- Keep sealant cleaned regularly to avoid the build-up of soap scum.

