If taking a shower leaves your bathroom floor wetter than your shower recess, it’s likely you have a leak!
Luckily there’s an easy fix – and with Selleys Wet Area Silicone Sealant, you can be back using your shower within no time.
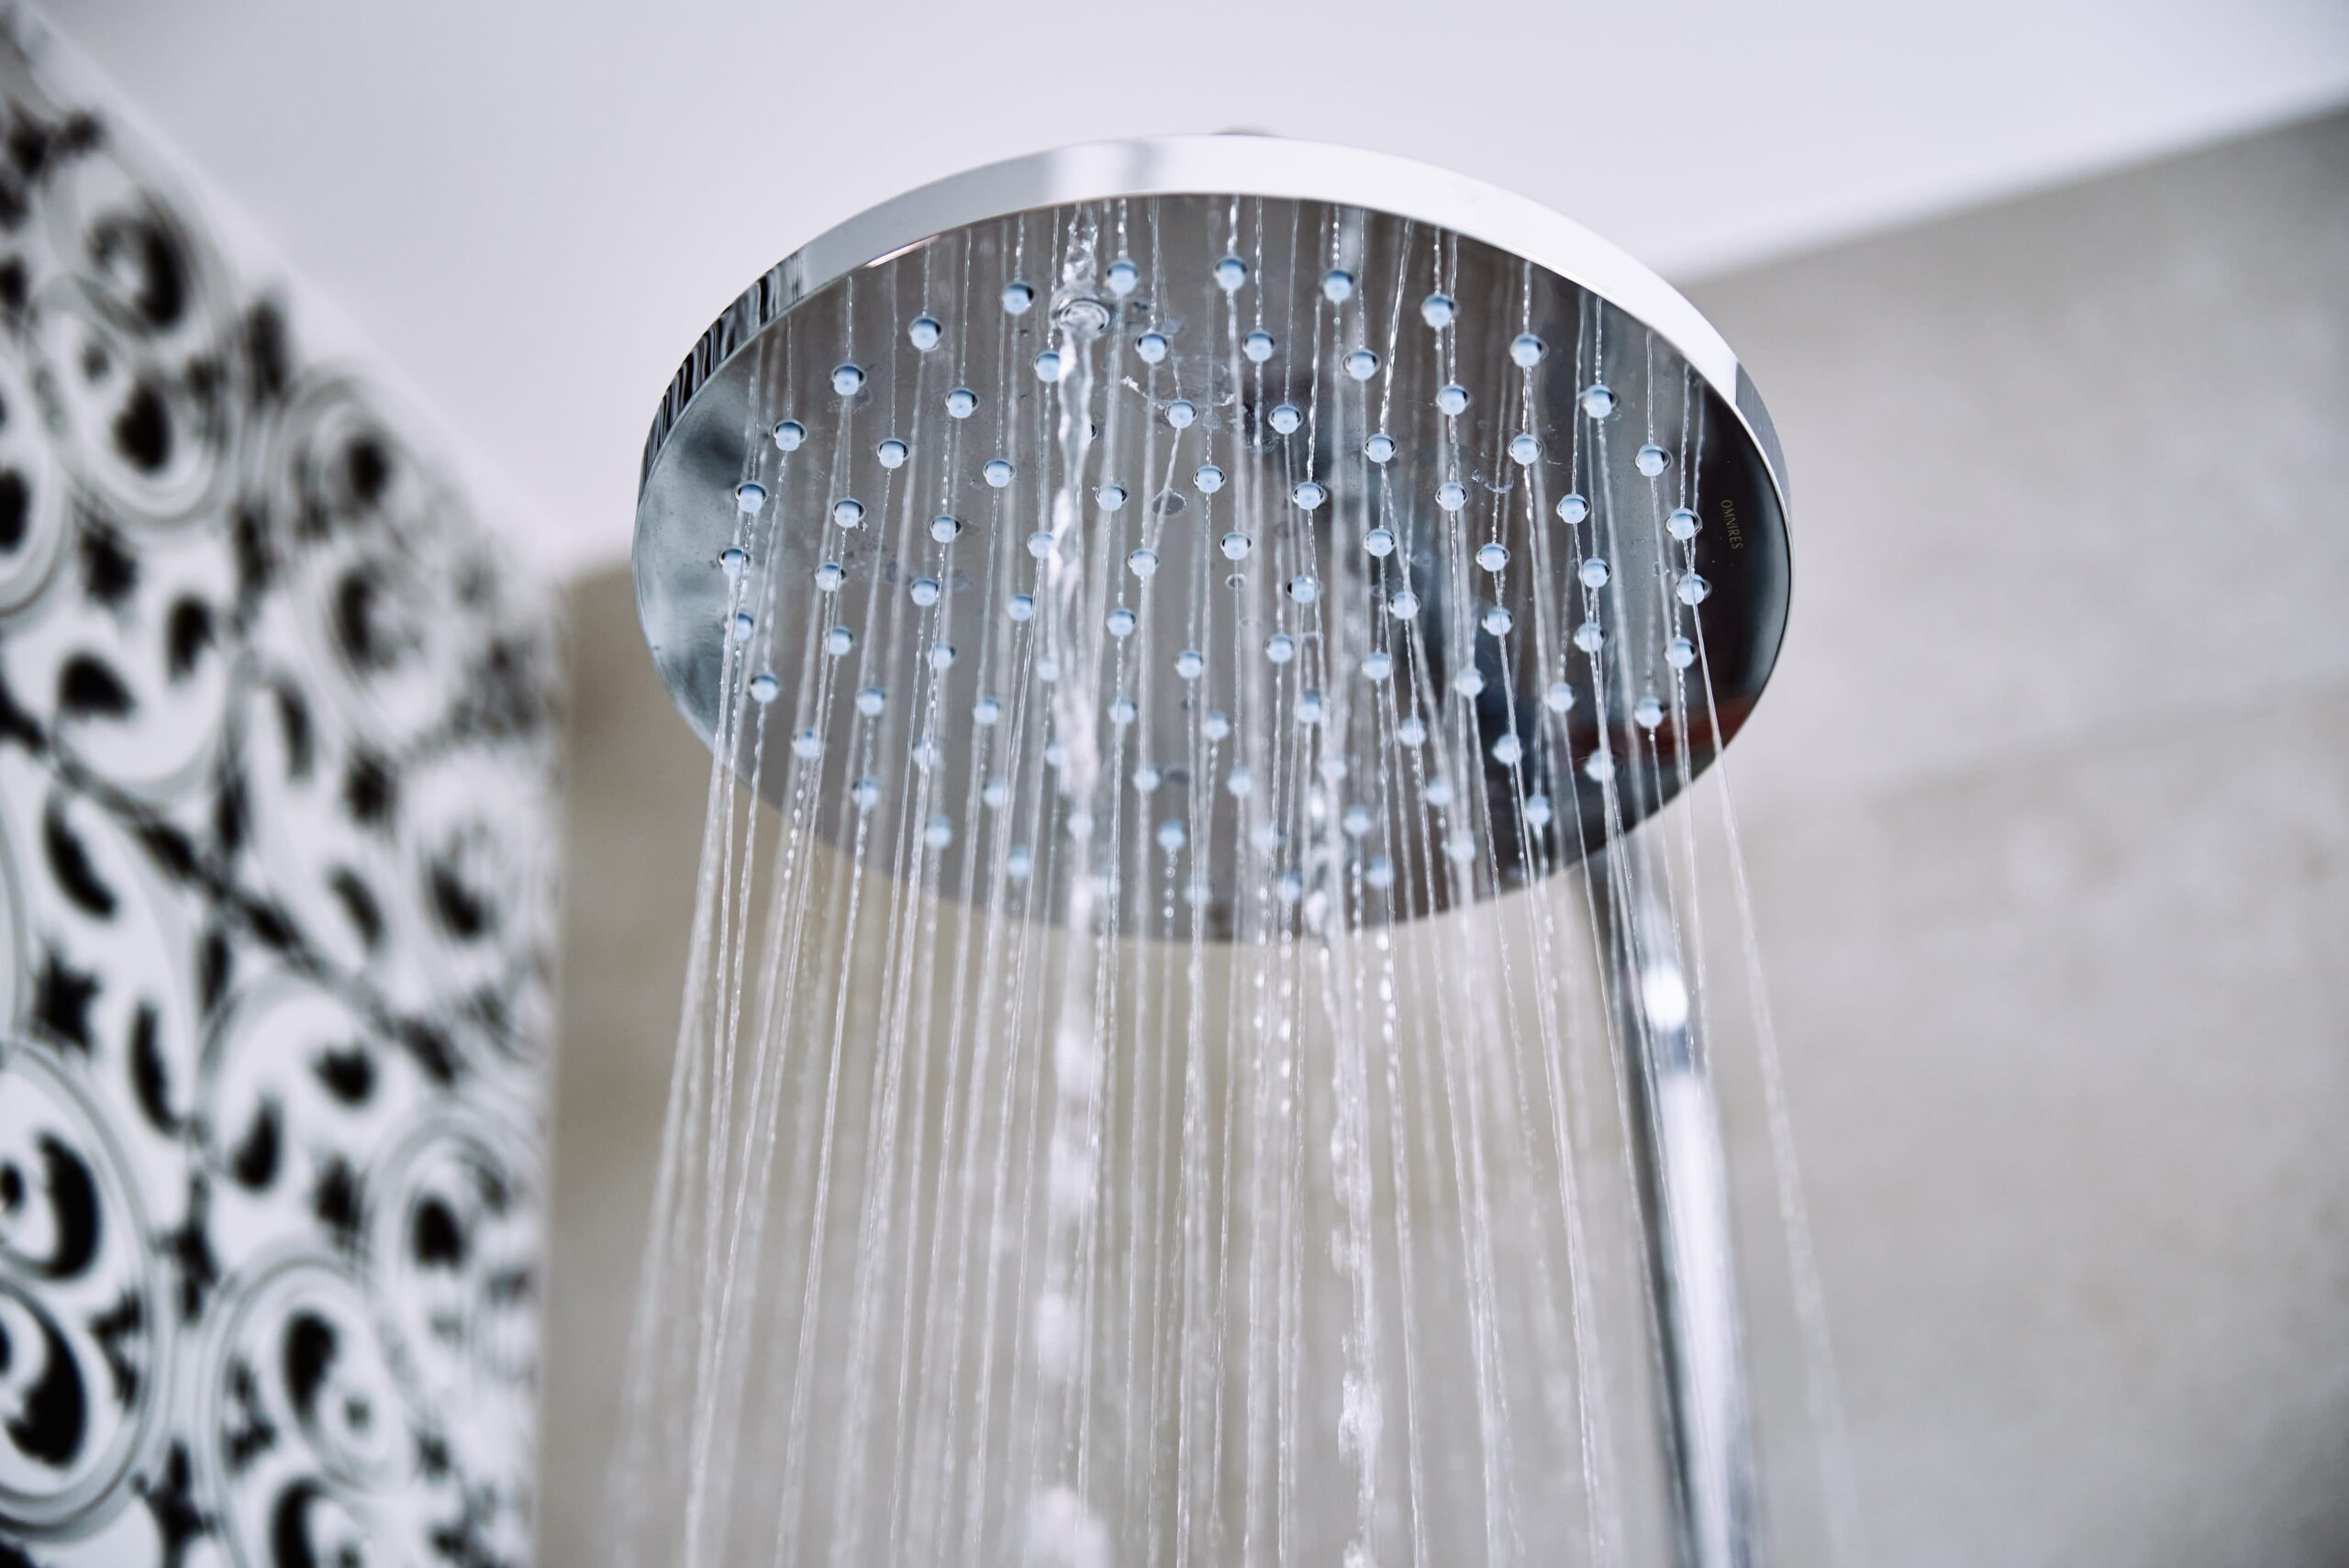
Source: Shutterstock
Table of Contents
What You Need
- Selleys Wet Area Silicone Sealant
- Roll of masking tape or painters tape
- Mineral turpentine
- Soft clean cloth
- Selleys Caulking Gun
- Blade or knife
- Spatula
- Silicone remover
How To
- Remove the old sealant by pushing the knife deep inside the join and running it down the length of the seal. The sealant should peel away in long pieces, exposing the join. If it’s difficult to remove, you might want to try using a silicone remover (follow the instructions on the pack).
- Use a cloth soaked in mineral turpentine to clean the newly exposed join area, ensuring all traces of the silicone has been removed then wipe the area dry.
- Protect the glass screen from silicone with a strip of tape running down its length. Make sure you don’t cover the join though! Do the same for the tile side of the wall.
- Cut the Selleys Wet Area Silicone Sealant cartridge tip and place in the caulking gun. Attached the nozzle to the cartridge and snip the nozzle at a 45 degree angle.
- Pump the gun until the silicone just begins to emerge, then apply evenly to the join in a downwards motion starting from the top of the shower screen.
- Use the spatula dipped in some soapy water (round corner), to clean up uneven areas and ensure the silicone is applied deeply to the join. Wash the spatula with some soapy water between touch ups.
- Remove tape from wall and screen immediately after smoothing the sealant, then clean up the area with a cloth dampened with mineral turpentine. You’ll have about 5 minutes to do this before the silicone begins to skin.
- Selleys Wet Area Silicone Sealant should be allowed to fully cure (72 hours) before returning shower to use.
Handy Tips
- Clean and dry surfaces of oil, dirt and grease with mineral turpentine and then methylated spirits. Allow to dry completely before applying silicone. If old silicone needs to be removed, simply apply silicone remover and the old silicone can be removed easily.
- Tape both sides of the gap before applying the product. This ensures a neat finish and makes it easier to clean up.
- When first applying product, extrude a small amount onto a piece of scrap material to ensure a smooth continuous flow of silicone sealant.
- Remove the tape before the silicone sealant skins.
- Use a spatula dipped in mineral turpentine or detergent and water to tool off the sealant.
- Work in sections that can be completed before sealant skins.